You've picked out a beautiful reed diffuser, set it up in your favourite room, and within a couple of weeks the scent has already faded. Sound familiar? If you've ever wondered how to make reed diffusers last longer, you're not alone, it's one of the most common questions we hear from customers at Coorong Candle Co.
A quality reed diffuser should fill your space with fragrance for months, not days. The good news is that a few simple adjustments to placement, maintenance, and environment can make a significant difference to how long your oil lasts and how consistently it scents your room.
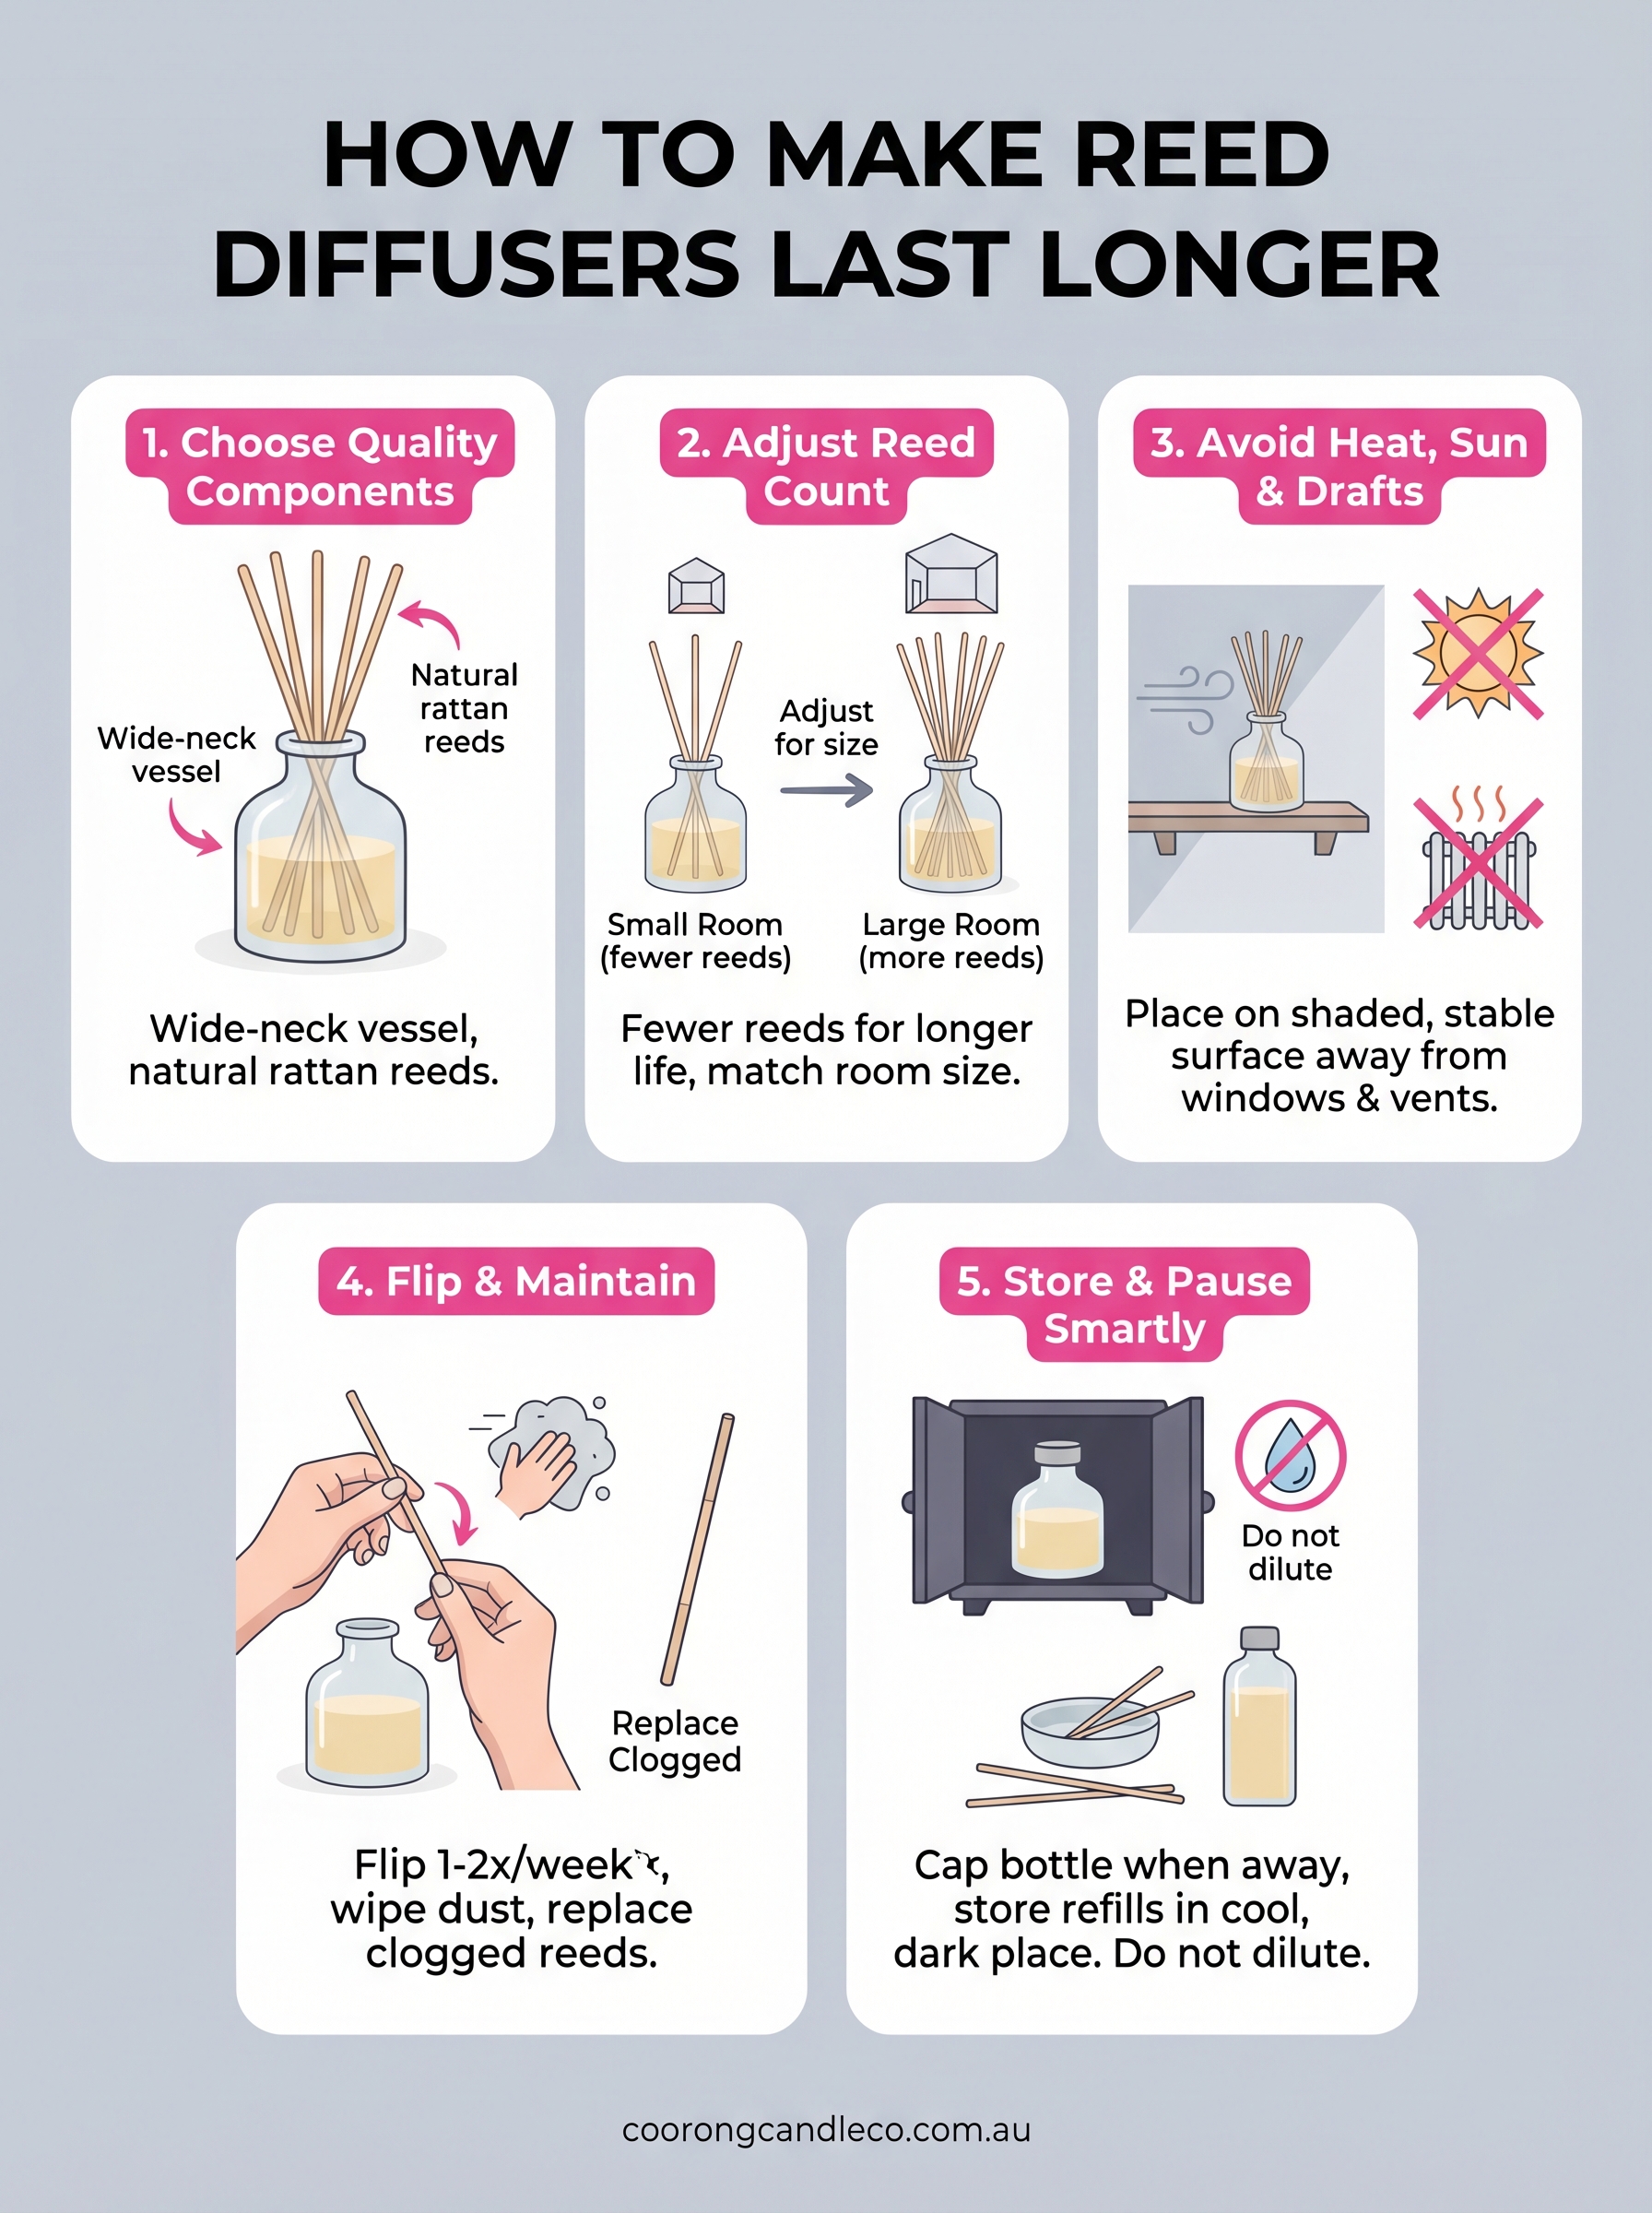
Below, we're sharing five practical tips drawn from our experience hand-crafting luxury reed diffusers inspired by the South Australian landscape. Whether you own one of ours or another brand entirely, these methods work across the board, and they'll help you get every last drop of fragrance from your diffuser.
1. Start with a quality diffuser and reeds
The foundation of a long-lasting reed diffuser starts before you even set it up. Cheap components burn through oil quickly and deliver inconsistent results, while well-made diffusers give you a steady scent that sticks around for weeks longer.
What "quality" means in a reed diffuser
A quality diffuser uses a wide-necked glass or ceramic vessel that slows evaporation while still allowing oil to wick upward through the reeds. Look for brands that are transparent about their ingredients and production process, including the type of carrier oil used and the overall fragrance concentration.
How fragrance oil and base blend affect longevity
The base blend, also called the carrier, holds the fragrance and controls how fast it evaporates. Dipropylene glycol (DPG) is one of the most common carriers and is known to slow evaporation compared to lighter alternatives. A higher fragrance load, typically above 15%, means more scent per millilitre and a longer-lasting result overall.
The carrier oil matters as much as the fragrance itself. A well-balanced blend will outlast a heavily perfumed one built on a poor base.
Why reed material matters and when to replace reeds
Rattan reeds are the gold standard because their natural channel structure wicks oil efficiently without flooding the vessel. Synthetic reeds often look similar but absorb and release oil unevenly. Replace your reeds every four to six weeks, or whenever they appear dark, swollen, or saturated, since clogged reeds stop performing even when oil remains in the bottle.
How to match diffuser size to your room
Matching diffuser volume to room size is one of the most overlooked factors in how to make reed diffusers last longer. A 200ml bottle suits a small bedroom or bathroom well, while larger open-plan spaces benefit from a 300ml to 500ml option, or multiple diffusers placed at opposite ends of the room.
2. Use the right number of reeds
The number of reeds in your diffuser directly controls scent intensity and how fast your oil depletes. Getting this balance right is one of the simplest ways to extend your diffuser's lifespan.
How reed count changes strength and oil usage
Each reed acts as a wick, drawing oil upward and releasing fragrance continuously. More reeds means a stronger scent but faster oil consumption, so the bottle empties well before it should.
Starting with fewer reeds than the packet suggests is one of the easiest ways to make your diffuser last noticeably longer.
A simple reed-count guide by room size
Matching reed count to room size is a practical part of learning how to make reed diffusers last longer:
| Room type | Recommended reeds |
|---|---|
| Small bathroom or hallway | 3 to 4 |
| Bedroom or study | 5 to 6 |
| Open-plan living area | 7 to 8 |
How to adjust when the scent feels too strong or weak
If the fragrance feels overpowering, remove one or two reeds and rest them on a small dish. When the throw feels weak, add a reed back rather than flipping all of them at once.
Mistakes that make oil disappear faster
Using every reed straight away is the most common error. Many diffusers include more reeds than most rooms actually need, and inserting them all immediately drains the bottle faster without improving the scent experience.
3. Place it away from heat, sun, and strong drafts
Where you place your diffuser has a direct impact on how quickly the oil evaporates. Heat and direct sunlight accelerate that process, while strong drafts carry fragrance away before it can settle into the room.
The best spots for steady scent and slower evaporation
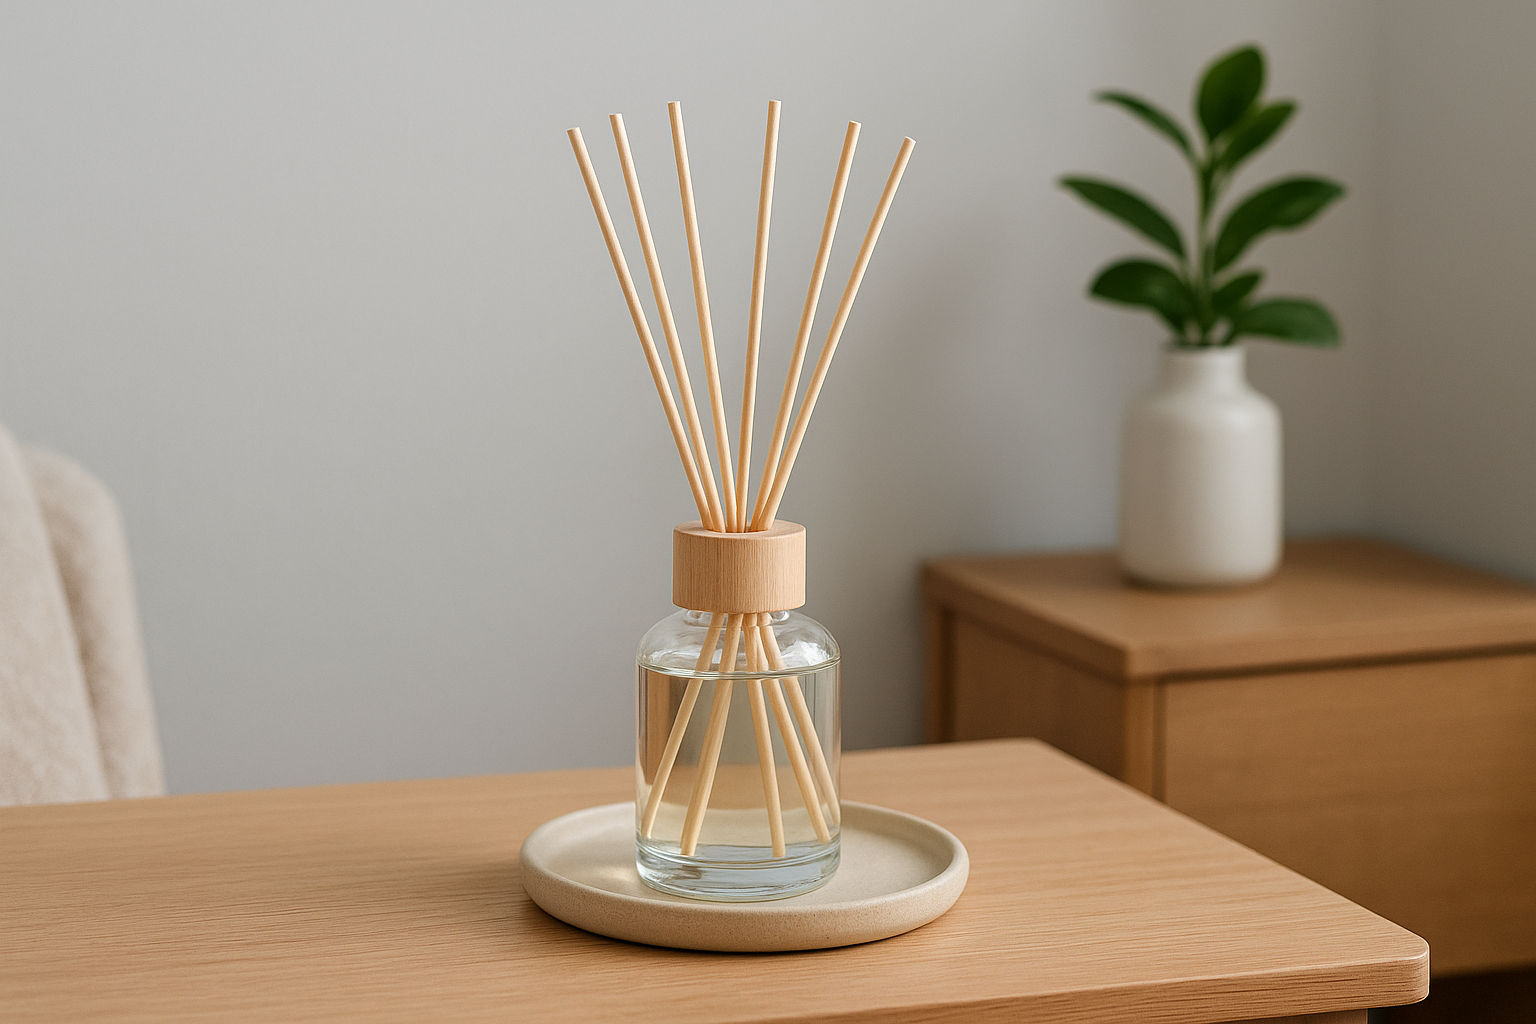
Aim for a stable, shaded surface at bench or shelf height. A hallway sideboard, a bedroom dresser away from windows, or a bathroom shelf kept clear of shower steam all allow the oil to wick steadily without overworking the reeds.
Places to avoid and why they speed up evaporation
Windowsills, sunny kitchen benches, and spots near heating vents are the worst positions for a reed diffuser. Direct sunlight breaks down fragrance compounds and thins the oil rapidly, cutting the bottle's lifespan by weeks.
Moving your diffuser away from sunlight and heat is one of the most effective answers to how to make reed diffusers last longer.
How to use gentle airflow without "overworking" the diffuser
A soft cross-breeze from a nearby doorway actually helps distribute scent naturally through a room. Avoid placing your diffuser directly in front of air conditioning vents or fans, as forced airflow will drain the bottle far too fast.
How to protect furniture while you optimise placement
Always sit your diffuser on a small tray or coaster. Fragrance oil can strip varnish and stain timber surfaces, so a simple barrier beneath the bottle prevents any accidental damage during placement adjustments.
4. Flip and maintain reeds the right way
Flipping your reeds is the most common maintenance task, and doing it correctly is a key part of how to make reed diffusers last longer.
When to flip reeds and how often
Flip your reeds once or twice a week if you want a stronger scent throw. If you prefer a subtle fragrance and want to extend the oil's lifespan, once a week or less is enough.
How to flip without spills and wasted oil
Hold the reeds over the bottle before turning them to catch any drips. Lay a paper towel underneath to protect your surface, then reinsert the saturated ends into the oil carefully.
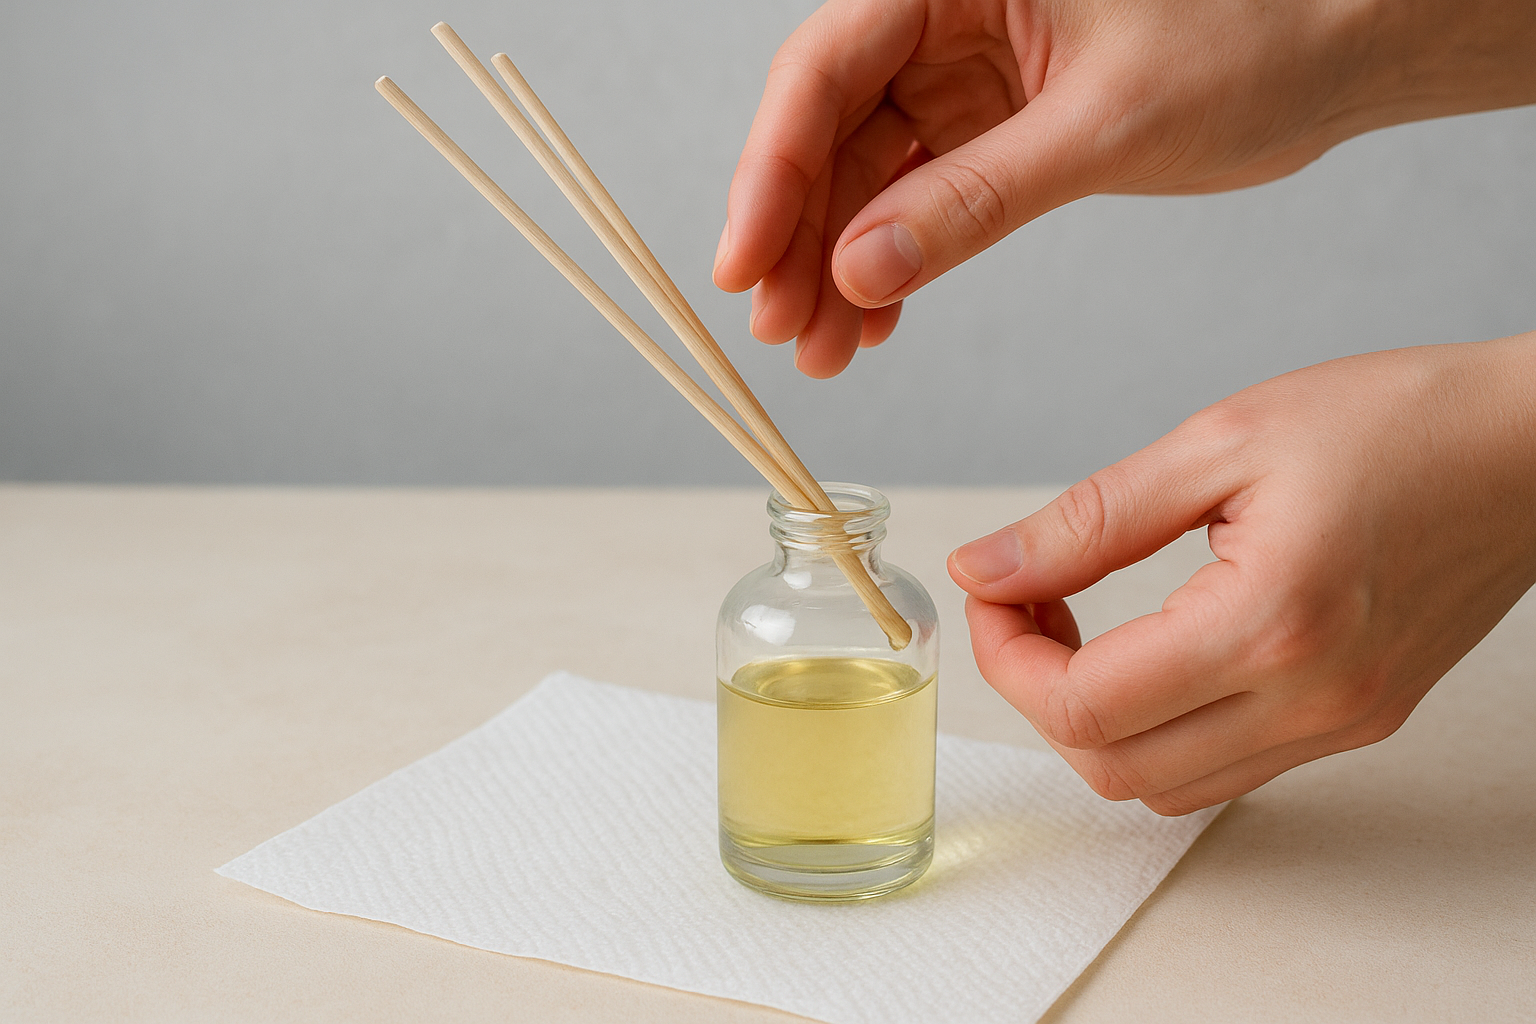
A slow, controlled flip keeps your oil in the bottle and off your furniture.
How dust and saturation reduce performance over time
Dust settling on the reeds blocks the pores and reduces scent release. Wipe the exposed reed ends gently with a dry cloth every couple of weeks to keep airflow moving freely through each channel.
Signs your reeds have clogged and what to do next
If your diffuser smells weak despite fresh oil, clogged reeds are likely the cause. Replace them with a fresh set of rattan reeds rather than trying to clean the old ones, as saturated reeds rarely recover their wicking ability.
5. Store, pause, and refill without ruining performance
How you handle your diffuser between uses and at refill time makes a real difference to longevity. A few simple habits here can add weeks of extra fragrance to every bottle.
How to pause a diffuser to reduce evaporation
If you're leaving home for several days, remove all the reeds and set them on a small dish. Covering the bottle opening loosely with its original cap or a small square of cling film slows evaporation significantly while you're away.
How to store refills and unopened diffusers for best shelf life
Keep spare bottles and refills in a cool, dark cupboard away from sunlight and temperature swings. Fragrance oils stored correctly can hold their quality for up to 12 months before you open them.
Proper storage is one of the most overlooked answers to how to make reed diffusers last longer.
Why you should not dilute diffuser oil with water
Adding water to stretch your fragrance oil disrupts the carrier blend and stops the oil from wicking properly through the reeds, resulting in a weak scent and potential mould growth inside the bottle.
When to refill versus when to start fresh
Refill the same vessel when the glass and reeds are still in good condition. Replace everything if the reeds are dark and rigid or the bottle has residue buildup that won't rinse clean.
A quick recap
Making your reed diffuser last longer comes down to five core habits: start with quality ingredients, dial in your reed count, choose the right placement, flip correctly, and handle storage and refills with care. Each tip reinforces the others, so putting them all together gives you the best overall result.
If you focus on just one change, placement away from heat and direct sunlight will have the most immediate impact on how long your oil lasts. From there, adjusting your reed count and flipping on a consistent schedule takes care of the rest.
Learning how to make reed diffusers last longer does not require expensive upgrades or extra effort, just a few small adjustments to how you set up and maintain your diffuser each week. If you're looking for a diffuser that's built to perform from day one, browse our natural reed diffusers handcrafted in South Australia.