
Choosing the wrong wick can ruin an otherwise perfect candle. Too small and you get tunnelling; too large and you're dealing with soot, mushrooming, and an unsafe flame. If you've landed on the Aussie Candle Supplies wick guide looking for answers, you're already on the right track, but the charts alone don't tell the full story. Proper wick selection depends on your wax type, container diameter, fragrance load, and even the dye you use.
At Coorong Candle Co., we hand-pour every soy candle in our South Australian workshop. That means we've spent countless hours testing wicks across different vessels and fragrance combinations to get a clean, even burn pool every single time. We know firsthand how much trial and error goes into getting it right, and how much time a solid wick guide can save you.
This article breaks down wick sizes, types, and compatibility charts from Aussie Candle Supplies, with practical tips drawn from real-world candle making. Whether you're pouring your first batch or troubleshooting an uneven burn, you'll walk away with a clear understanding of how to match the right wick to your specific setup.
What the wick does and why size matters
The wick is the engine of your candle. It draws liquid wax upward through capillary action and feeds the flame, which then melts more wax in a continuous cycle. The diameter of your melt pool (how wide and deep it gets during a burn) is almost entirely controlled by wick size. Get that size right and your candle burns cleanly from edge to edge; get it wrong and you'll waste fragrance, wax, and hours of production time.
How the wick controls the melt pool
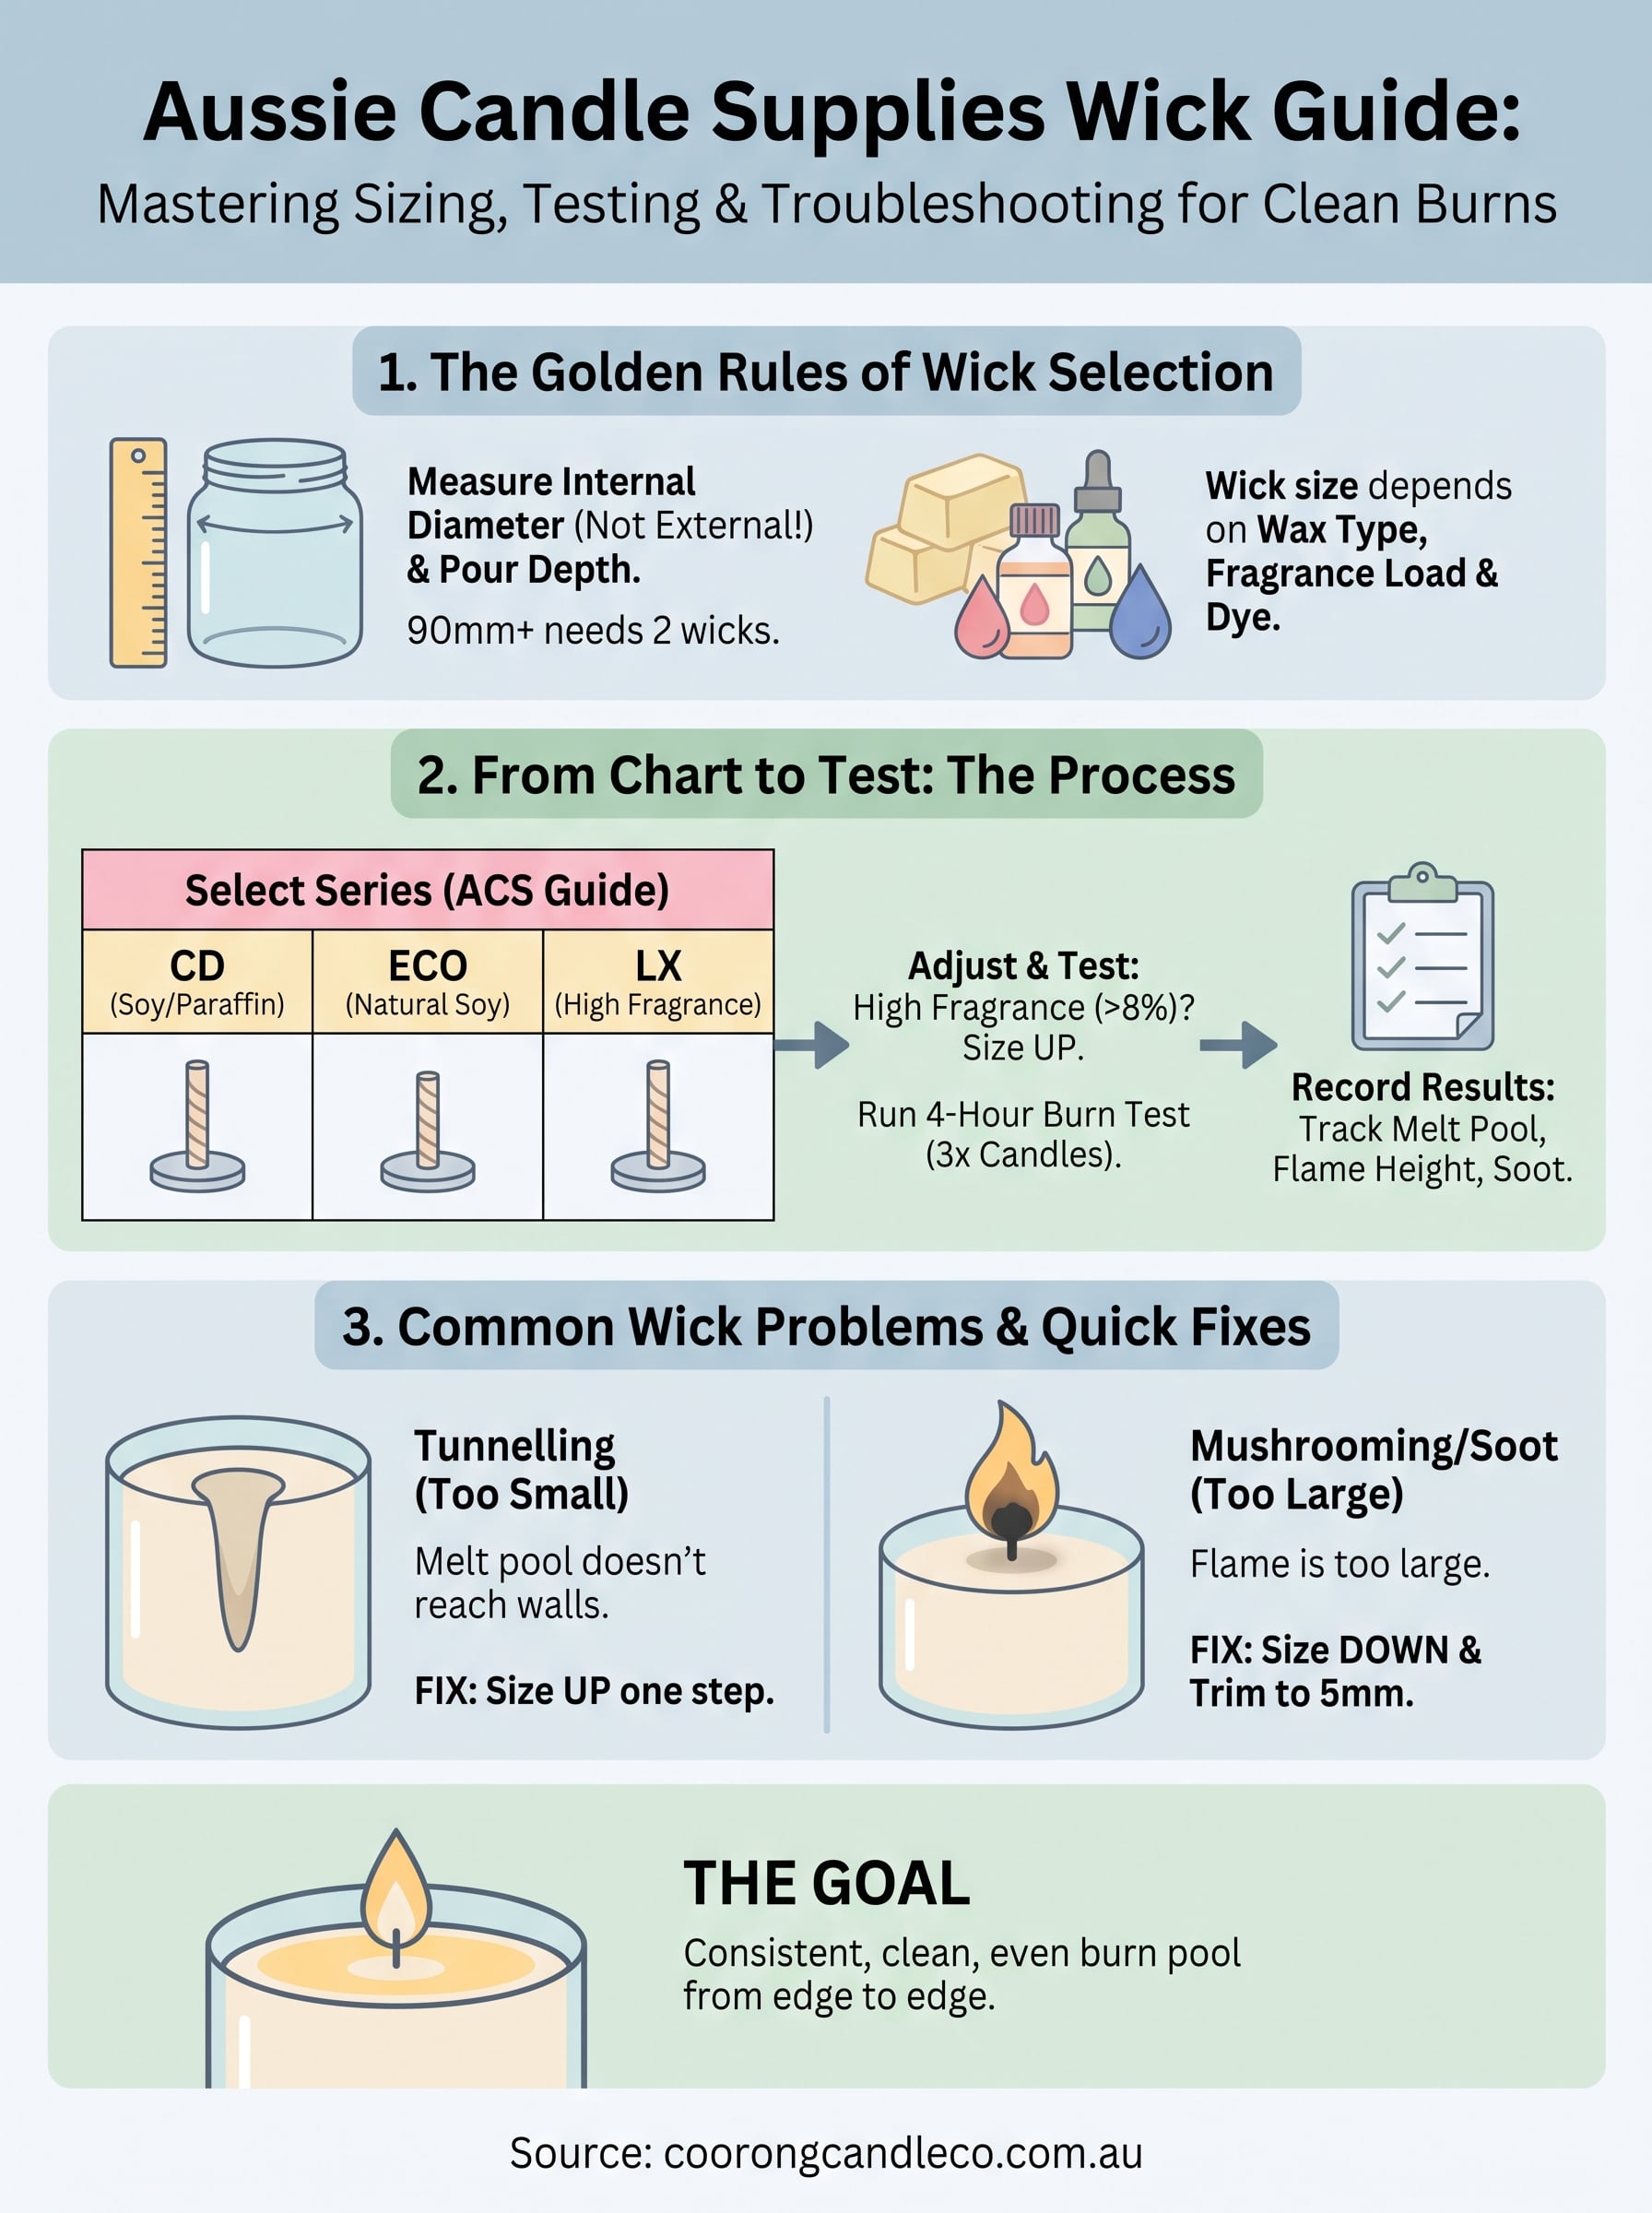
Every wick has a specific heat output that determines how much wax it can melt per hour. A correctly sized wick creates a melt pool that reaches the container walls within two to three hours of the first burn. Cotton core wicks, like the CD and ECO series available through Aussie Candle Supplies, are designed to curl slightly as they burn, which reduces carbon buildup and keeps the flame at a consistent height throughout the candle's life. The wick series you choose also interacts with your fragrance load: a heavier fragrance oil concentration thickens the wax slightly and can slow the melt pool, which means you may need to size up compared to an unscented version of the same candle.
A melt pool that never reaches the container walls means fragrance trapped in unmelted wax, and a customer who can barely smell your product.
Why getting wick size wrong costs you candles
An undersized wick tunnels straight down the centre of your candle, leaving a thick rim of wasted wax and fragrance. An oversized wick does the opposite: it overheats the wax, produces a large sooty flame, and burns through your fragrance oils too quickly. Both outcomes damage the sensory experience you're trying to create. The aussie candle supplies wick guide exists to help you avoid this guesswork by pairing specific wick series with container diameters and wax types, so you start your testing within the correct range rather than from scratch.
Measure your container and plan the wick setup
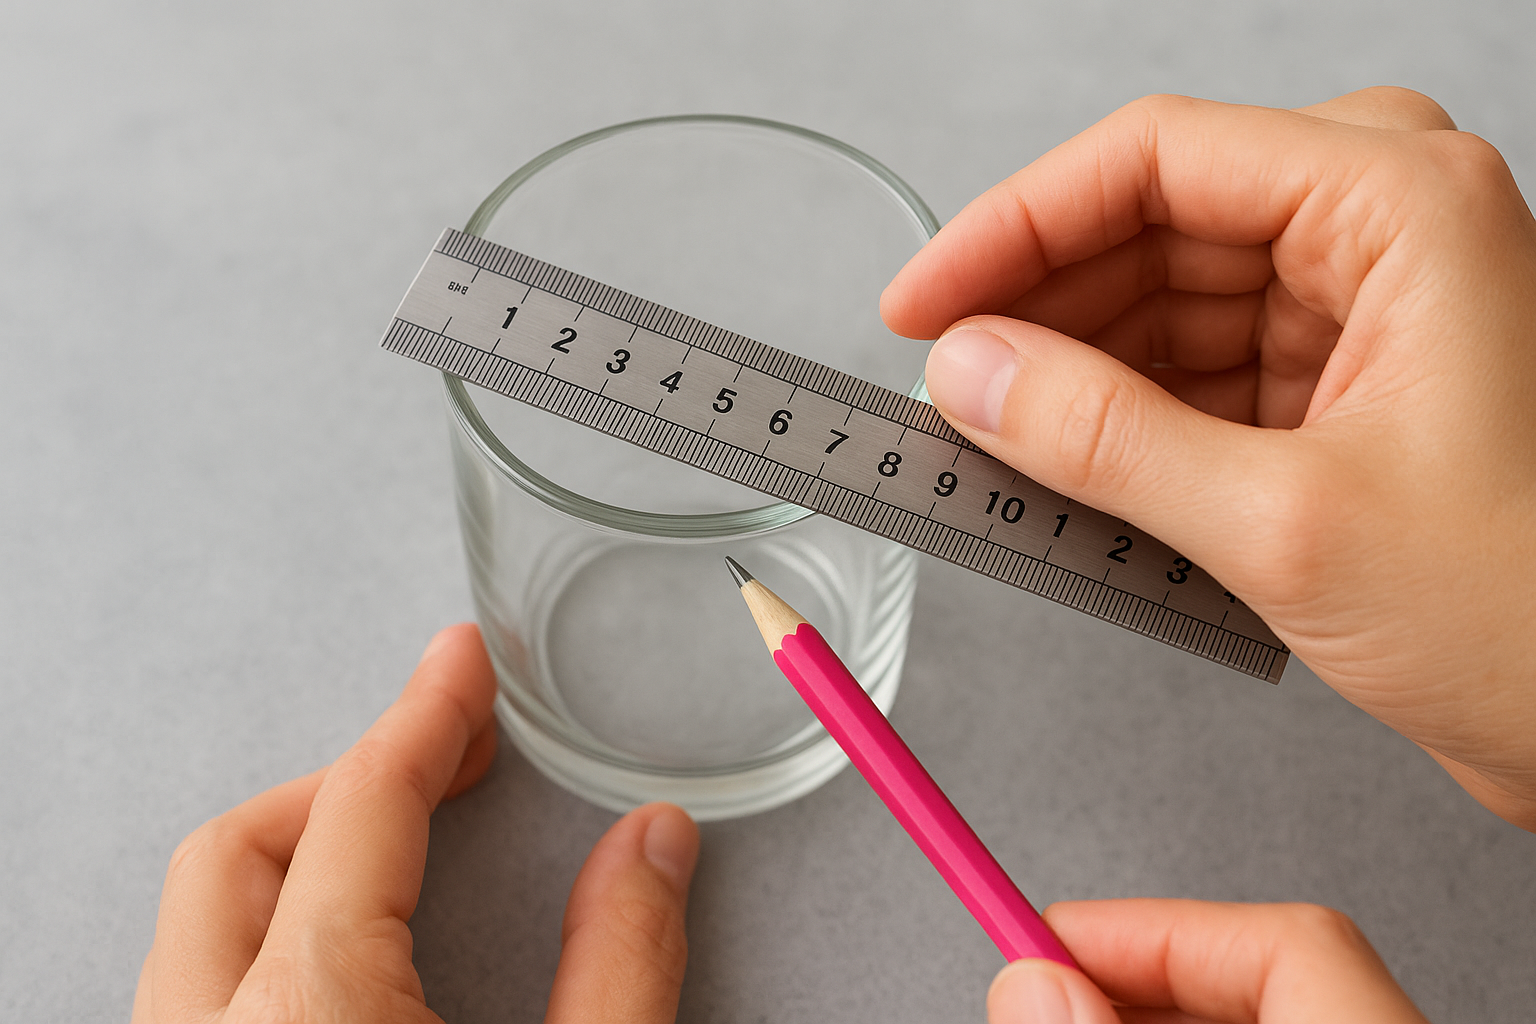
Before you open any wick chart, grab a ruler and measure the internal diameter of your container at the widest point of the wax contact area. This single measurement is the most critical variable in wick selection, and getting it wrong by even five millimetres can push you into the wrong size range entirely.
Take accurate diameter and depth measurements
Use a steel ruler or digital calipers for accuracy. Measure the internal diameter across the opening, then note the pour depth (the distance from the base to your intended wax fill line). A shallow vessel with a wide mouth behaves very differently from a tall, narrow jar, even if they share a similar diameter. Write both measurements down before you cross-reference any chart.
| Measurement | What to record |
|---|---|
| Internal diameter | Widest point of the wax area (mm) |
| Pour depth | Base to fill line (mm) |
| Vessel material | Glass, tin, or ceramic |
Always measure the internal diameter, not the external width of the jar wall.
Account for multiple wicks in wide containers
Containers wider than 90mm typically need two wicks placed evenly to achieve a full melt pool. Space them at roughly one-third intervals across the diameter, and treat each wick position as its own separate sizing decision.
Use the Aussie Candle Supplies wick charts
The aussie candle supplies wick guide organises wick options by series, with each series designed for a specific wax type and container diameter range. Once you have your measurements from the previous step, you cross-reference them against the relevant chart to land on a starting wick size before you commit to a full test batch.
Match your diameter to the correct wick series
Each wick series performs differently depending on wax type and fragrance load. The table below maps the most commonly used Aussie Candle Supplies series to their recommended applications so you can identify where to start:
| Wick Series | Best For | Diameter Range |
|---|---|---|
| CD | Soy and paraffin blends | 50mm to 80mm |
| ECO | Natural soy wax | 45mm to 85mm |
| LX | Container soy with high fragrance loads | 50mm to 75mm |
Always start one size below the upper end of the chart range when your fragrance load exceeds 8%.
Adjust the chart recommendation to your specific setup
Chart recommendations give you a tested baseline, not a guaranteed outcome. Your specific fragrance oil, dye concentration, and pour temperature all shift burn behaviour slightly from what the chart predicts. Treat the recommended size as your first test wick, then move up or down based on what your burn results show you.
Dial in with burn tests and record results
Charts give you a starting point, but burn testing is where you confirm whether that starting point actually works for your specific setup. Conduct each test in consistent conditions: same room temperature, same pour temperature, and the same fragrance oil percentage across every test candle in that batch.
Run a controlled first burn
Pour at least three identical test candles for each wick size you trial. Light all three at the same time and burn them for a full four hours on the first session without trimming. This gives you a reliable read on how the melt pool develops from a cold start, which is the hardest burn condition your candle will face.
The first burn sets the memory of the wax, so a wick that tunnels in hour one will keep tunnelling throughout the candle's life.
Record what you observe
Use a simple log sheet to track your results from each burn session. Consistent record-keeping removes guesswork from future batches and helps you repeat successful outcomes without re-testing from scratch.
| Observation | What to note |
|---|---|
| Melt pool width at 2 hours | Measure in mm |
| Melt pool width at 4 hours | Note if it reached container walls |
| Flame height | Low, medium, or high |
| Mushrooming or soot | Yes or no |
Compare your three candles side by side. If two out of three show an incomplete melt pool, size up one step and repeat the process.
Fix common wick problems fast
Even with the aussie candle supplies wick guide in hand, burn issues still appear once you introduce new fragrance oils or switch container shapes. Most problems fall into two predictable categories, and both have straightforward fixes once you identify the root cause.
Tunnelling and incomplete melt pools
Tunnelling happens when your wick is too small for the container and the melt pool cannot reach the vessel walls within the first four hours. Your immediate fix is to size up by one step in the same series and repeat the four-hour burn test. If the problem persists after sizing up twice, check your pour temperature: wax poured too cold can create a dense structure that resists melting even with a correctly sized wick.
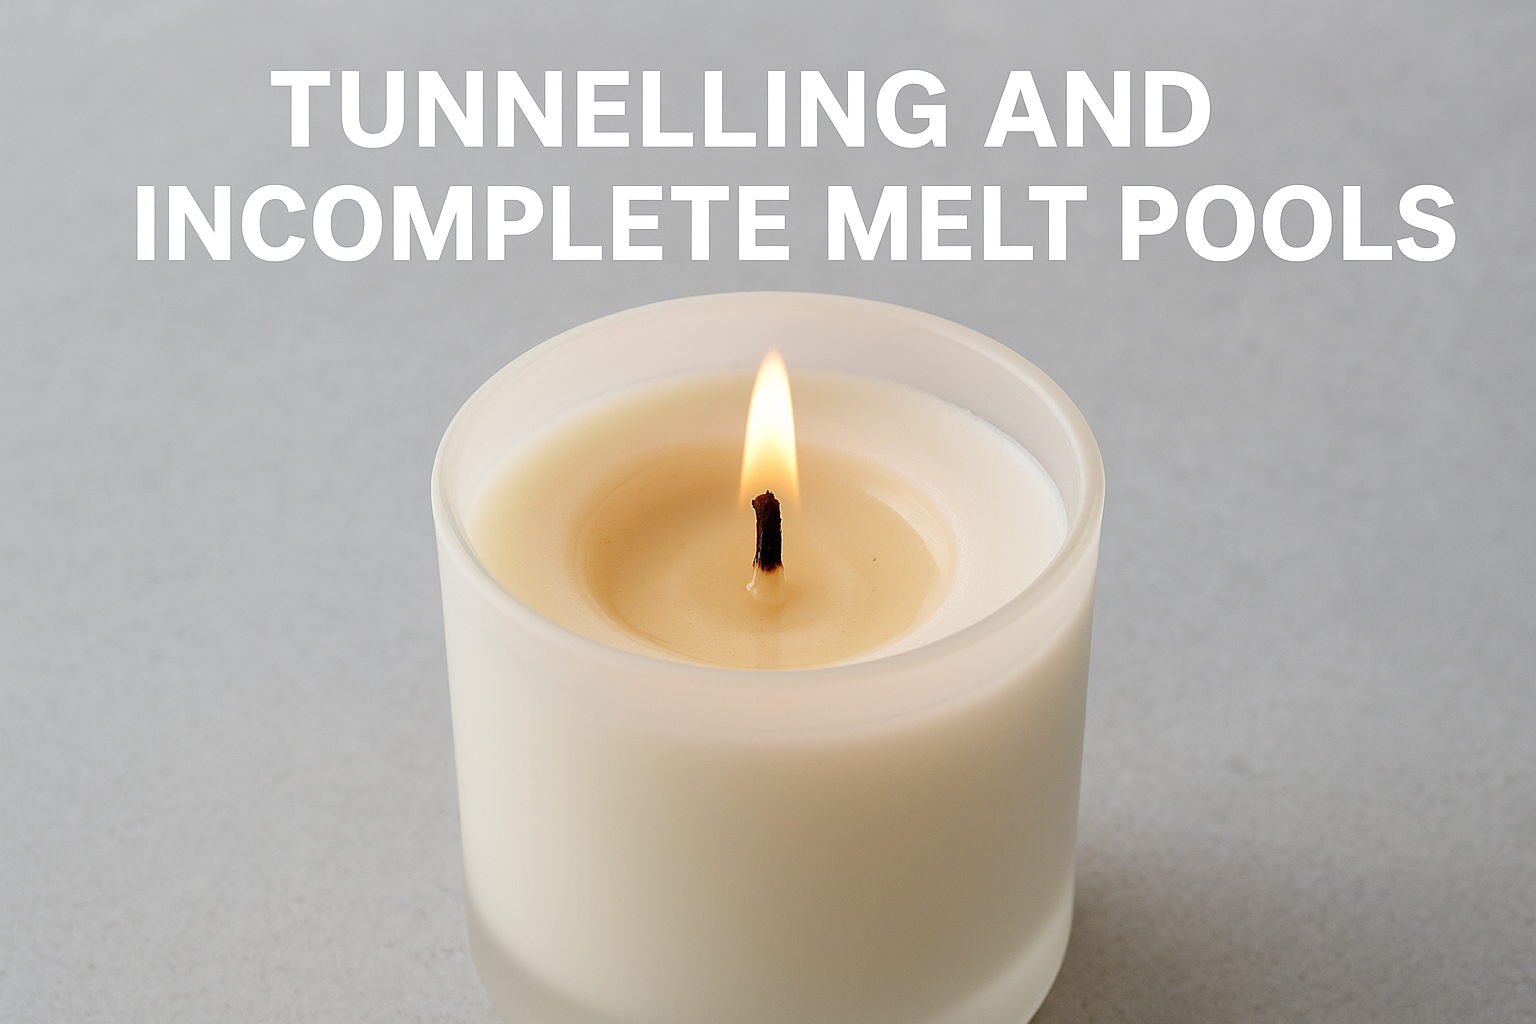
A partial melt pool wastes fragrance oil and shortens the perceived life of your candle from the customer's perspective.
Mushrooming, soot, and oversized flames
A carbon mushroom forming on the wick tip signals that your wick is burning faster than the wax can consume it. Size down one step in your current series, and trim the wick to 5mm before every burn session. Persistent soot on the container walls after trimming points to an oversized wick rather than a trimming issue, so drop another size and retest.
Your next wick test
You now have everything you need to move from guesswork to a reliable, repeatable process. The aussie candle supplies wick guide gives you a tested starting range, but your own burn records are what lock in the final answer for your specific wax, fragrance, and container combination. Write down every result, size up or down based on what the melt pool tells you, and trim to 5mm before every burn.
Once your wick selection is dialled in, the rest of your candle-making process becomes far more consistent. You'll spend less time troubleshooting and more time producing candles that perform well from the first burn to the last. If you want to see what a well-tested, hand-poured soy candle looks and smells like, take a look at the Coorong Candle Co. full candle range for fragrance and finish inspiration.