At Coorong Candle Co., we hand-pour every soy candle in small batches from our studio in South Australia. Through years of testing wicks across dozens of container sizes, we've learned one thing the hard way: the wick makes or breaks the candle. Get it wrong and you'll end up with tunnelling, soot, or a flame that drowns in its own wax pool. Knowing how to choose the right wick for soy candles saves you from wasted wax and frustrating burns.
Soy wax behaves differently to paraffin. It has a lower melting point and denser composition, which means wicks that work perfectly in petroleum-based candles often underperform in soy. The right wick needs to generate enough heat to create a full melt pool without overheating the container or throwing off black smoke.
This guide walks you through wick types, sizing charts, and the testing process we rely on in our own workshop. Whether you're making your first soy candle or troubleshooting a batch that isn't burning cleanly, you'll find practical steps to match wick size to container diameter and get a consistent, even burn every time.
What affects wick choice in soy candles
Before you can work out how to choose the right wick for soy candles, you need to understand the variables that drive every sizing decision. Soy wax burns cooler than paraffin and has a denser, softer structure, which means it requires a wick that compensates by drawing fuel efficiently and throwing enough heat to melt the wax evenly across the surface. Change any one of the following factors and your wick selection may shift entirely.
The single biggest mistake candle makers make is choosing a wick based on one factor alone, then wondering why the burn is inconsistent.
Container size and shape
The diameter of your container is the most direct influence on wick sizing. A wider vessel needs a wick that can project heat across a larger surface area to achieve a full melt pool within the first two to three burns. Tall, narrow containers present a different challenge: the flame sits deeper as the candle burns down, reducing airflow and often causing the wick to drown in pooled wax.
Container material also plays a role. Glass retains heat differently to tin or thick ceramic, which affects how quickly the wax melts outward from the wick. A wick that performs well in a standard glass jar may underperform in a heavy ceramic vessel of the same diameter because the ceramic draws heat away from the melt pool.
Fragrance load and additives
Fragrance oil concentration directly affects how your wick performs. Most soy candle recipes use a fragrance load between 6% and 10% of total wax weight. Higher concentrations make the wax denser and can restrict the wick's capillary action, which produces a weak or unsteady flame. Liquid colourants present a similar issue, as they can partially block wick fibres over time and reduce draw rate.
If your recipe includes additives like coconut wax blends or vybar, these change the burn characteristics enough that you may need to size up from your standard wick recommendation for that container diameter.
Wick material
The three most common wick materials for soy candles are cotton, wood, and paper-core. Cotton wicks are the most versatile and suit most container sizes. Wood wicks produce a wider flame and a crackling sound, which works well in shallow, wide vessels. Paper-core wicks offer extra rigidity during the pour and suit softer wax formulations where a pure cotton wick might lean or collapse before the wax sets fully.
Each material carries a different burn rate and heat output, so the correct choice always depends on your specific combination of container, wax type, and fragrance load.
Step 1. Measure container diameter and wax depth
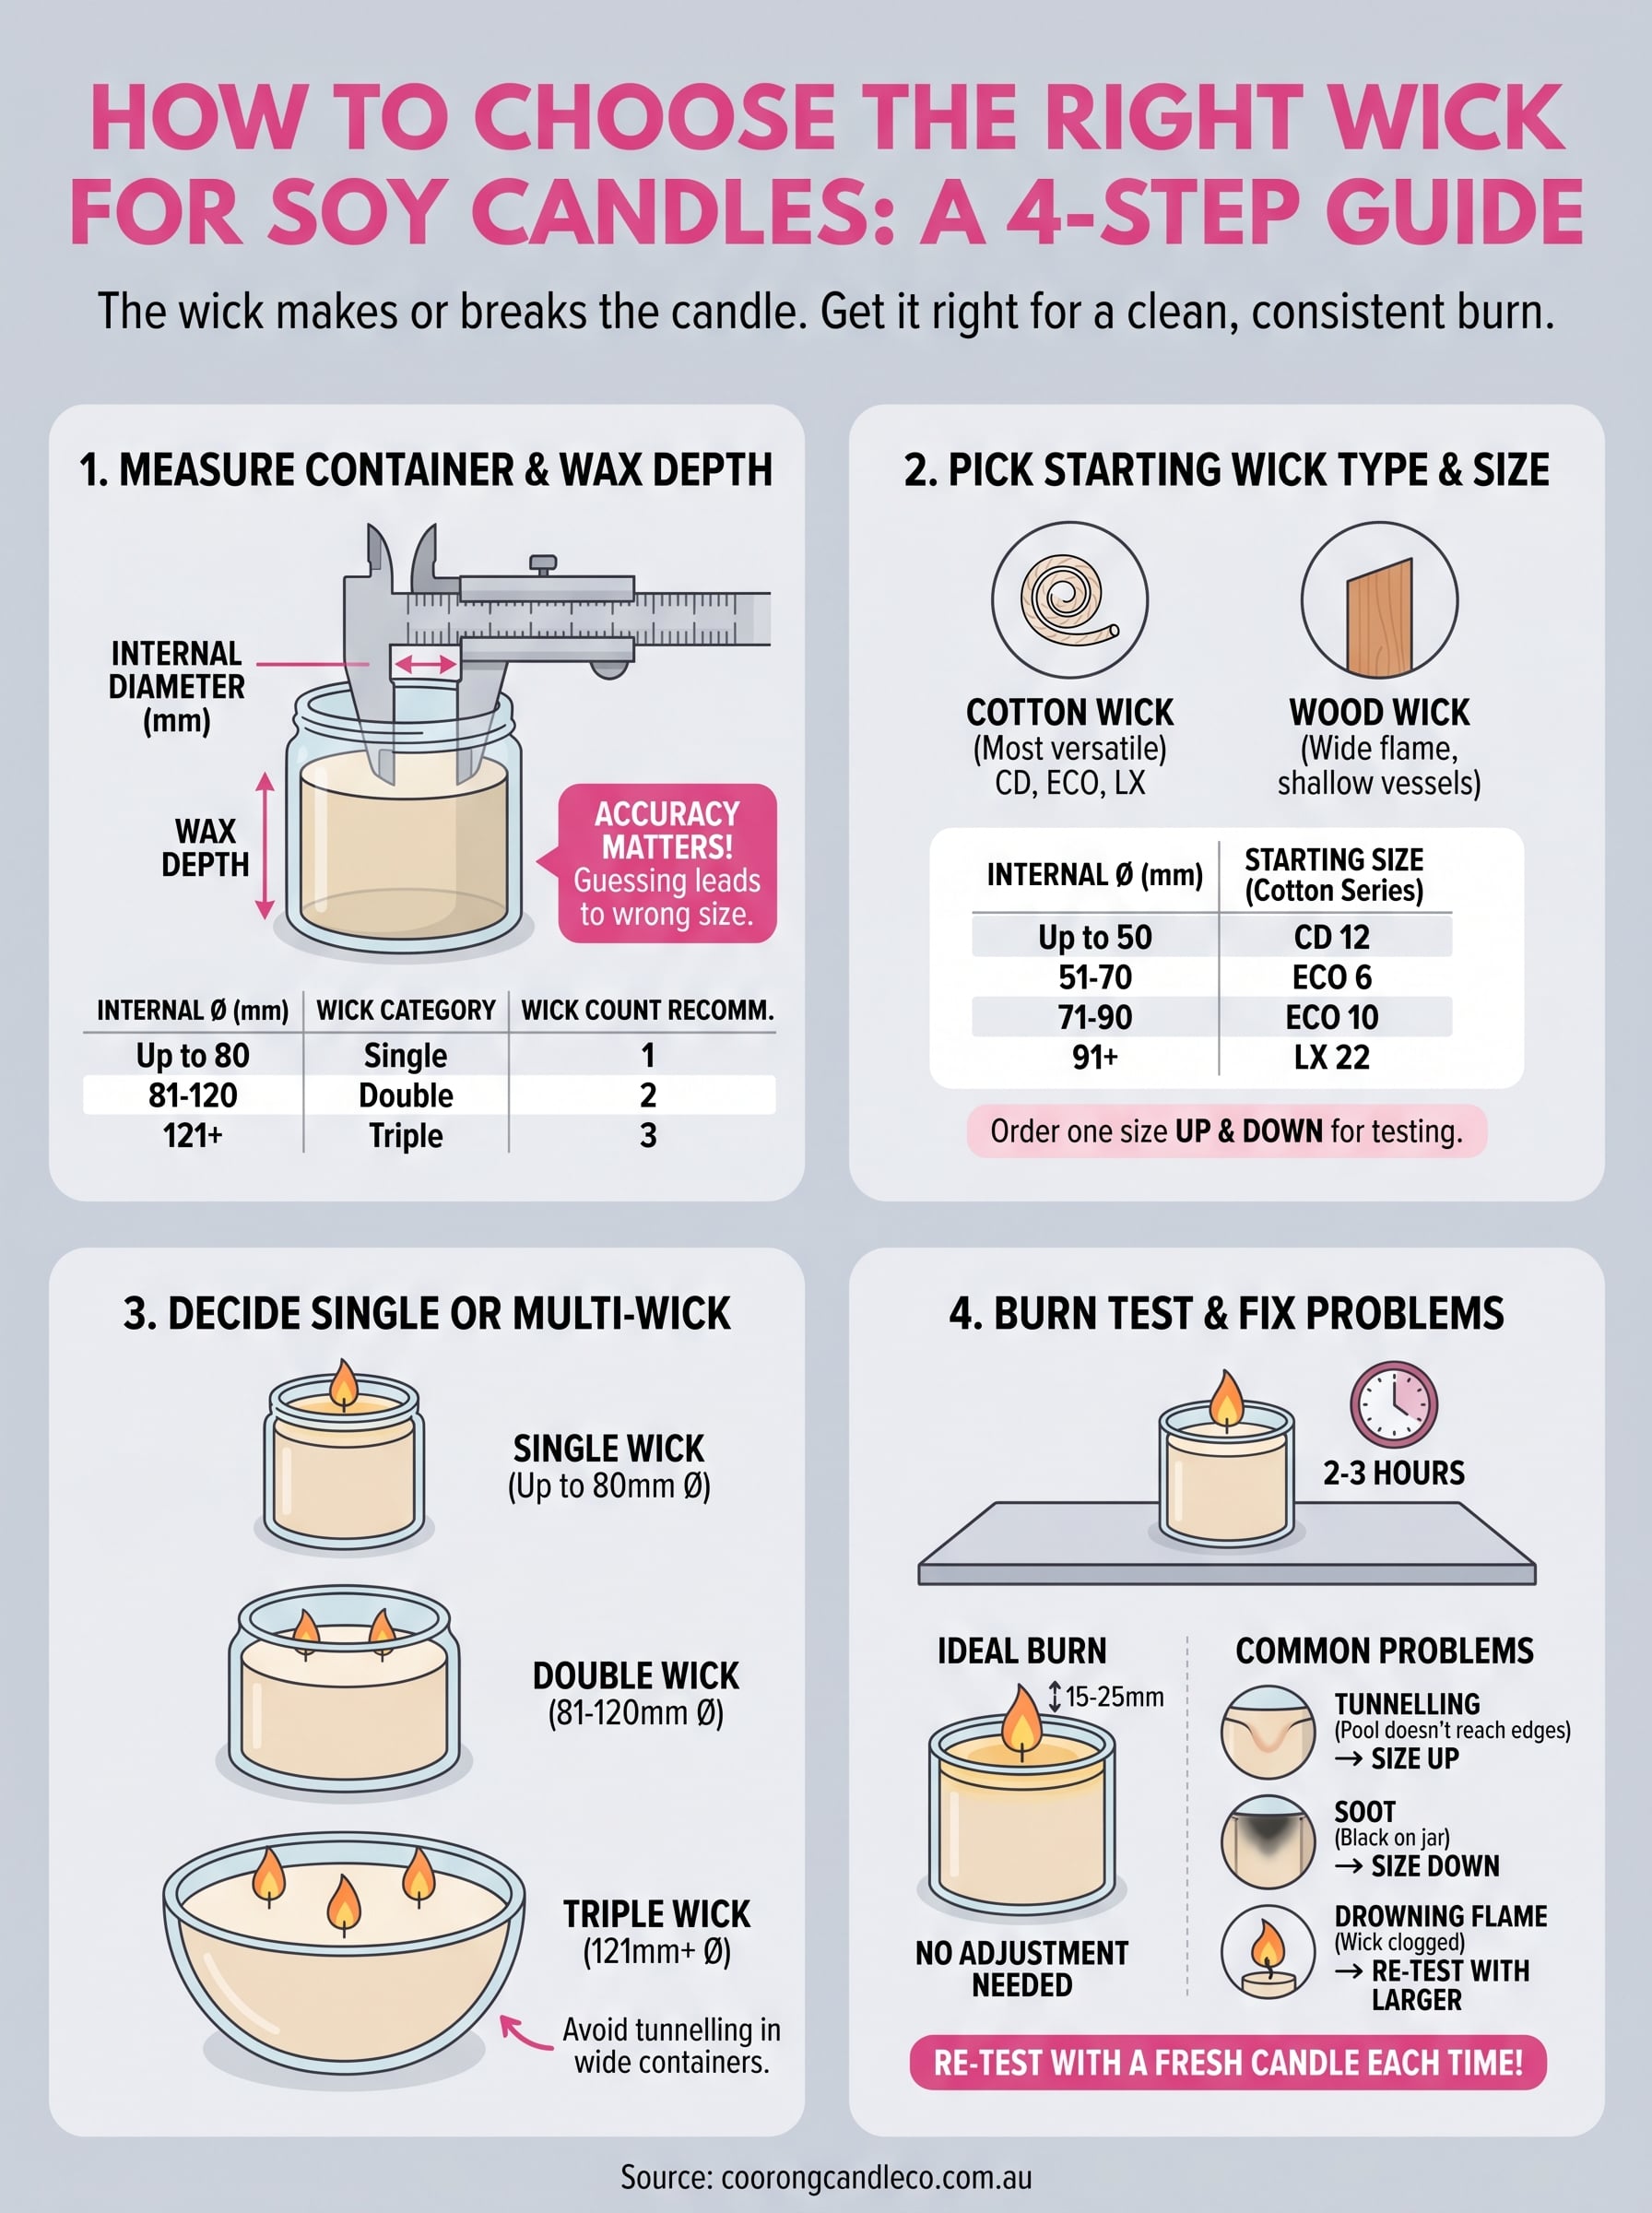
Before you pull out a wick sizing chart, you need two accurate measurements: the internal diameter of your container at the widest point, and the maximum wax depth from the base to where you plan to finish the pour. These numbers are the foundation for every wick decision you make. Guessing them, or using the external diameter of the container, is one of the most common reasons candle makers end up with the wrong-sized wick when working out how to choose the right wick for soy candles.
How to measure container diameter
Use a metal ruler or digital callipers to measure the internal diameter straight across the widest point inside the container, not the outside wall. For cylindrical jars, this is straightforward. For containers that taper toward the base, measure at the widest internal point, since that is where the melt pool needs to reach during a full burn.
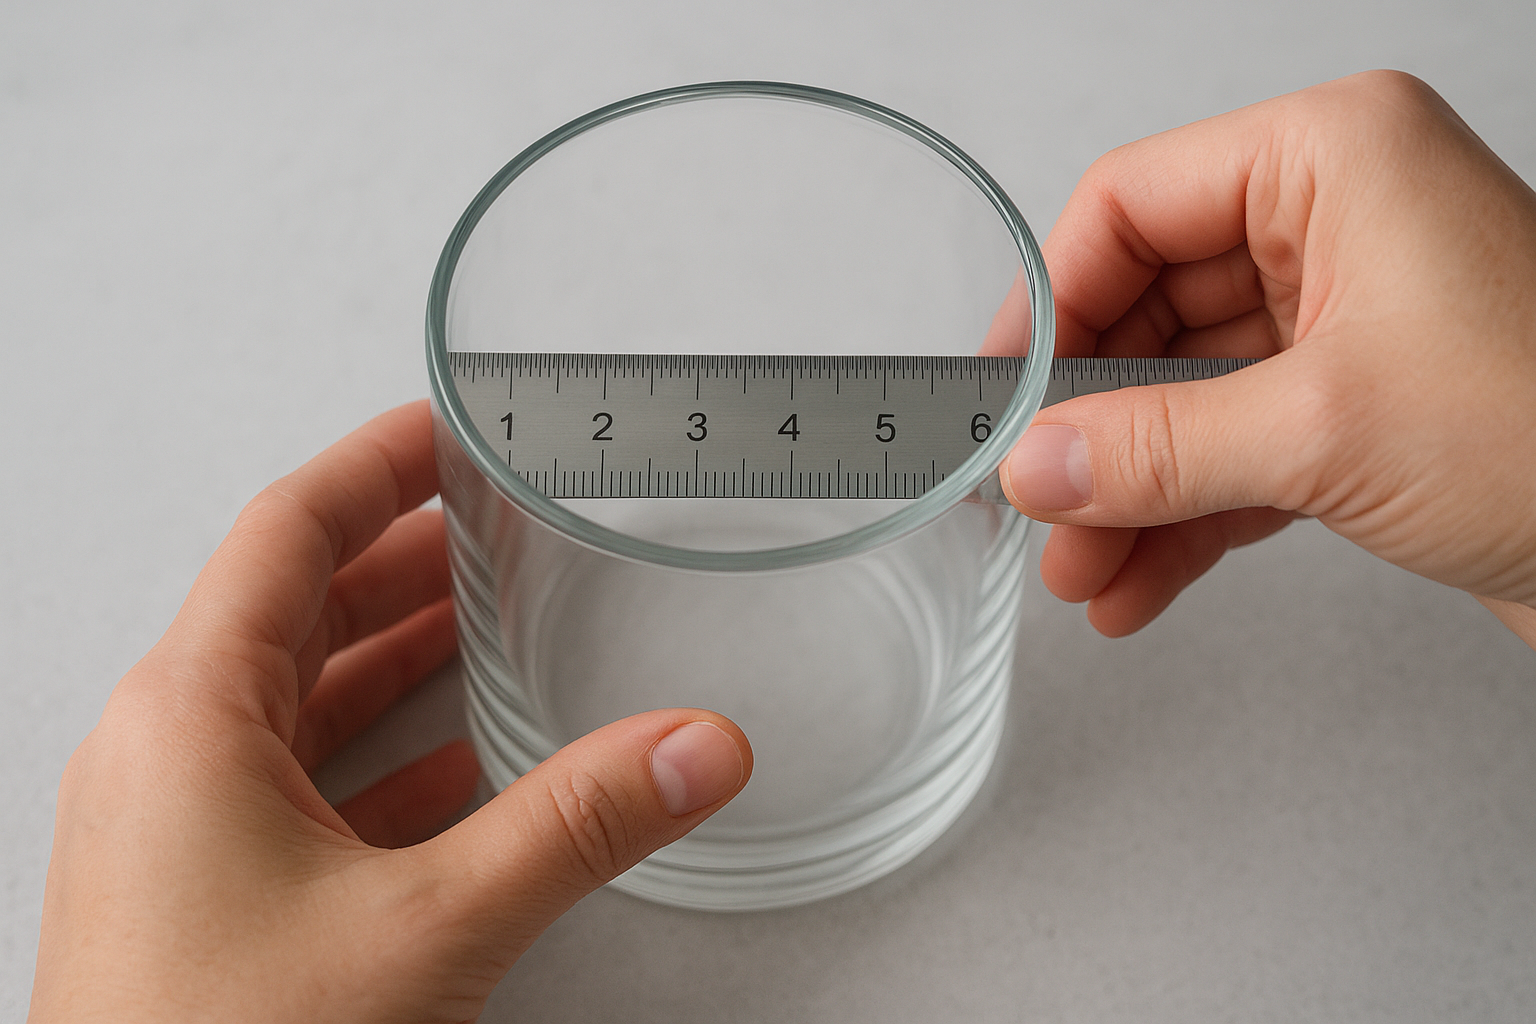
Always measure the internal diameter rather than the external, as container walls can add 5 to 10 mm to your reading and push you into the wrong wick size range.
Use the table below as a quick reference for matching your internal diameter to a starting wick size category:
| Internal diameter | Wick size category |
|---|---|
| Up to 50 mm | Small |
| 51 mm to 70 mm | Medium |
| 71 mm to 90 mm | Large |
| 91 mm and above | Extra large or multi-wick |
Why wax depth matters
Wax depth affects airflow around the flame as the candle burns down. A container deeper than 100 mm creates a progressively enclosed burn environment, which reduces oxygen supply to the wick and can cause the flame to shrink or begin tunnelling. Knowing your wax depth upfront lets you anticipate this issue and factor it into your wick selection alongside the diameter measurement.
Step 2. Pick a wick type and starting size
Once you have your container diameter and wax depth, you can move into selecting a wick material and identifying a starting size for your test batch. The goal at this stage is not to find the perfect wick on the first try, but to narrow your options to a sensible starting point that you can adjust based on burn test results.
Choose your wick material first
Your wick material determines how the flame behaves throughout the life of the candle. Cotton wicks are the most widely used option for soy container candles and come in several series, including CD, ECO, and LX, each designed for different container diameters and wax densities. Wood wicks suit wide, shallow vessels and produce a broader flame that helps melt soft soy wax across a large surface area quickly. If your recipe uses a high fragrance load, start with cotton over wood, since wood wicks are more sensitive to dense wax formulations.
If you are new to working out how to choose the right wick for soy candles, start with a cotton series and only switch materials once you have a baseline burn test result.
Match starting size to your container
Use the table below to select a starting wick series and size based on your internal container diameter. These are starting points, not final answers.
| Internal diameter | Cotton series | Starting size |
|---|---|---|
| Up to 50 mm | CD | CD 12 |
| 51 mm to 70 mm | ECO | ECO 6 |
| 71 mm to 90 mm | ECO | ECO 10 |
| 91 mm and above | LX | LX 22 |
Order one size below and one size above your starting recommendation so you can compare results across your test burns without waiting on multiple reorders.
Step 3. Decide on single or multi-wick setups
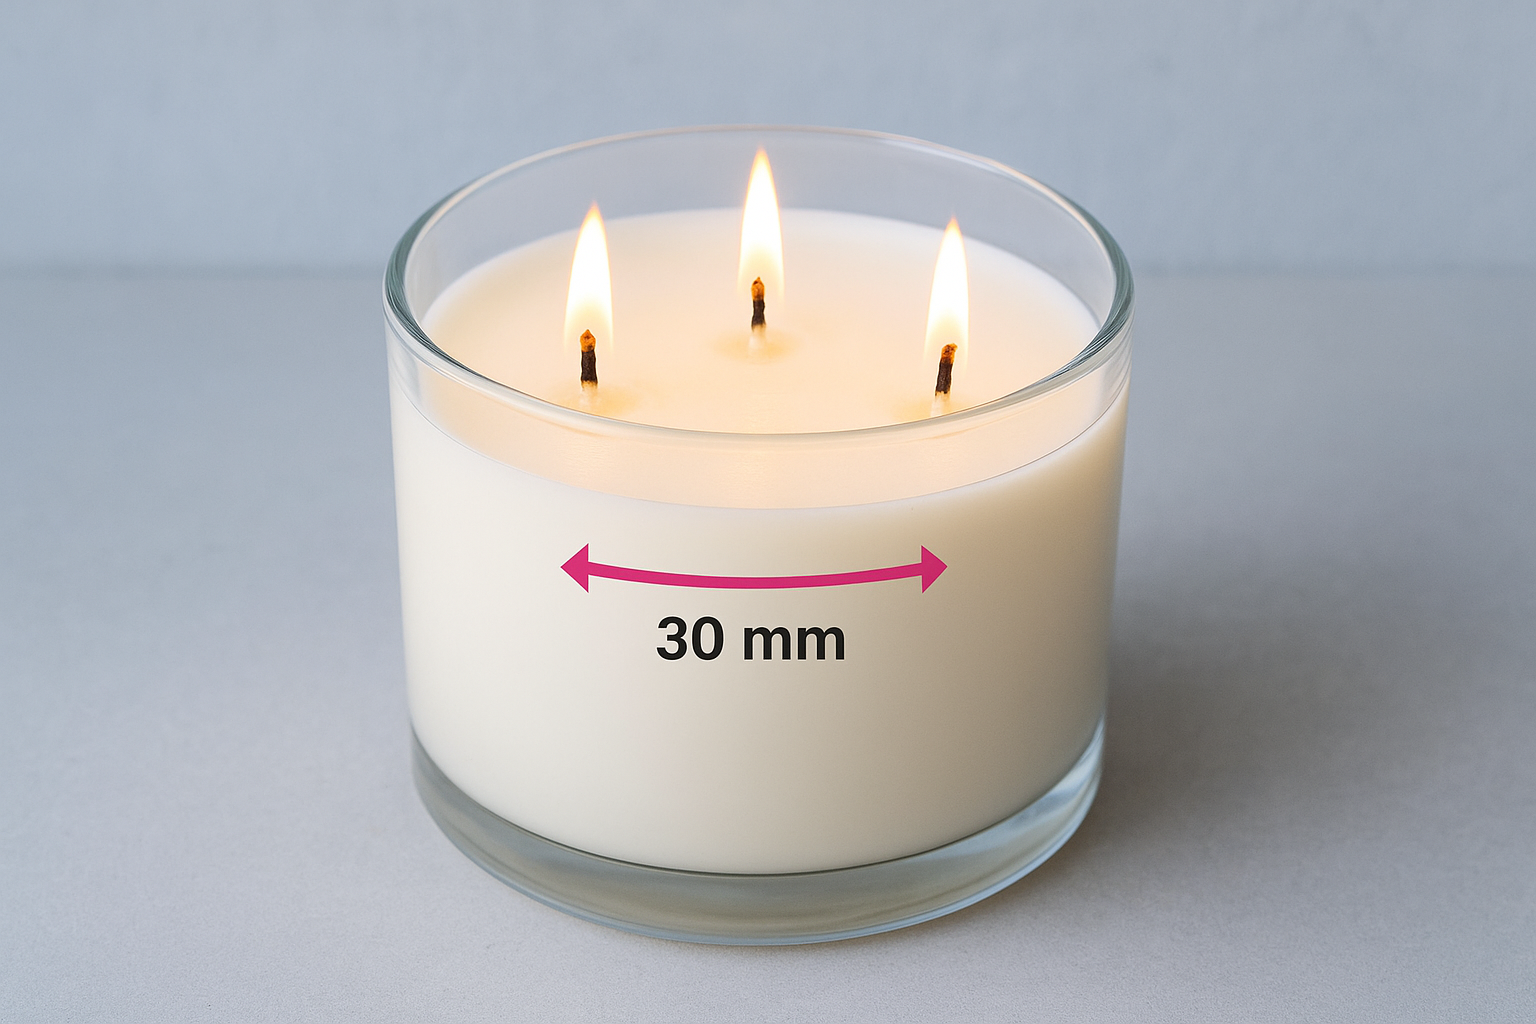
Once you have a wick material and starting size in mind, you need to decide whether your container needs one wick or several. Container diameter is the main driver here: a single wick can only project heat so far before the melt pool fails to reach the edges of the vessel. For most standard soy container candles, a single wick handles containers up to 80 mm in diameter without difficulty.
When a single wick is enough
A single, correctly sized wick suits the majority of containers you will work with when learning how to choose the right wick for soy candles. Containers between 50 mm and 80 mm in diameter give one wick enough room to generate a full melt pool within the first two to three hours of burning.
Your test burn will confirm the wick is performing well if the melt pool reaches the container walls within that window and the flame height stays between 15 mm and 25 mm. Both conditions together mean no adjustment is needed and you can proceed with confidence.
When to move to multiple wicks
Containers wider than 80 mm put a single wick at a disadvantage. The heat radiates outward from a central point and loses intensity before it reaches the outer wax, leaving a ring of unmelted wax along the inside wall. This is called tunnelling, and adding a second or third wick is the most reliable fix.
Position multiple wicks in an evenly spaced triangle or parallel arrangement, keeping each wick at least 30 mm from the container wall and 40 mm apart from each other.
Use the table below to guide your wick count decision:
| Internal diameter | Recommended wick count |
|---|---|
| Up to 80 mm | 1 wick |
| 81 mm to 120 mm | 2 wicks |
| 121 mm and above | 3 wicks |
Step 4. Burn test and fix common problems
The burn test is where you confirm whether your wick selection actually works. Run your first burn for two to three hours, then check the melt pool, flame height, and any soot deposits before you move on to the next burn. No sizing chart replaces this step when learning how to choose the right wick for soy candles.
How to run a burn test
Place your candle on a flat, heat-safe surface away from drafts and record your starting conditions: room temperature, wick brand and size, fragrance load percentage, and container diameter. Light the candle and leave it undisturbed for the full burn window. At the two-hour mark, check that the melt pool has reached the container walls and measure the flame height. A healthy flame sits between 15 mm and 25 mm. Take a photo at each check so you have a clear record to compare across different wick sizes.
Write your observations down immediately after each burn rather than relying on memory when you compare multiple wick sizes side by side.
Fix common burn problems
When the burn test reveals a problem, the fix is usually a one-size adjustment up or down. Use the table below to match what you observe to the most likely cause and the corrective action:
| Observation | Likely cause | Fix |
|---|---|---|
| Melt pool does not reach edges | Wick too small | Size up one step |
| Black soot on jar or wick tip | Wick too large | Size down one step |
| Flame drowns in wax pool | Wick clogged or too thin | Re-test with larger size |
| Wick leans to one side | Off-centre placement | Re-centre and re-test |
| Mushrooming carbon on tip | High fragrance load | Trim wick to 5 mm before each burn |
Re-test after every adjustment using a fresh candle rather than relighting the same one, since a partial burn affects how the wax behaves on subsequent tests.
Conclusion
Knowing how to choose the right wick for soy candles comes down to working through four clear steps: measure your container, pick a material and starting size, decide on your wick count, and run a burn test. No single step replaces the others. A correctly sized wick for a 70 mm jar may perform completely differently in a wide ceramic vessel with a high fragrance load, so you need all four pieces working together.
Your burn test results are your most reliable guide. The charts and starting sizes in this article give you a strong foundation, but the flame will tell you exactly what adjustment to make. Size up if the melt pool stalls at the edges, size down if you see soot, and re-test with a fresh candle each time.
If you want to skip the testing process and simply enjoy a clean, consistent burn, browse our handcrafted soy candle collection to find a fragrance that suits your space.