
You've got an empty diffuser bottle sitting on the shelf and a strong urge to bin it, but hold off. Buying fresh reed diffusers oil costs a fraction of a new set, and refilling one is far simpler than most people assume. If your reeds have stopped throwing scent or your bottle's run dry, you don't need a whole new diffuser, just the right oil and a few minutes.
This guide walks you through exactly how to refill a reed diffuser, from choosing the right reed diffuser oil refill to knowing when your reeds need replacing rather than just topping up. We'll cover the ratios, the timing, and the small mistakes that leave a refilled diffuser smelling weak or uneven.
We make our diffusers here in South Australia using long-lasting fragrance oils inspired by places like the Barossa Valley and Kangaroo Island, so we've refilled more bottles than we can count. Below, you'll find the step-by-step process we use ourselves, plus tips on picking a diffuser reed oil refill that actually matches your original scent strength.
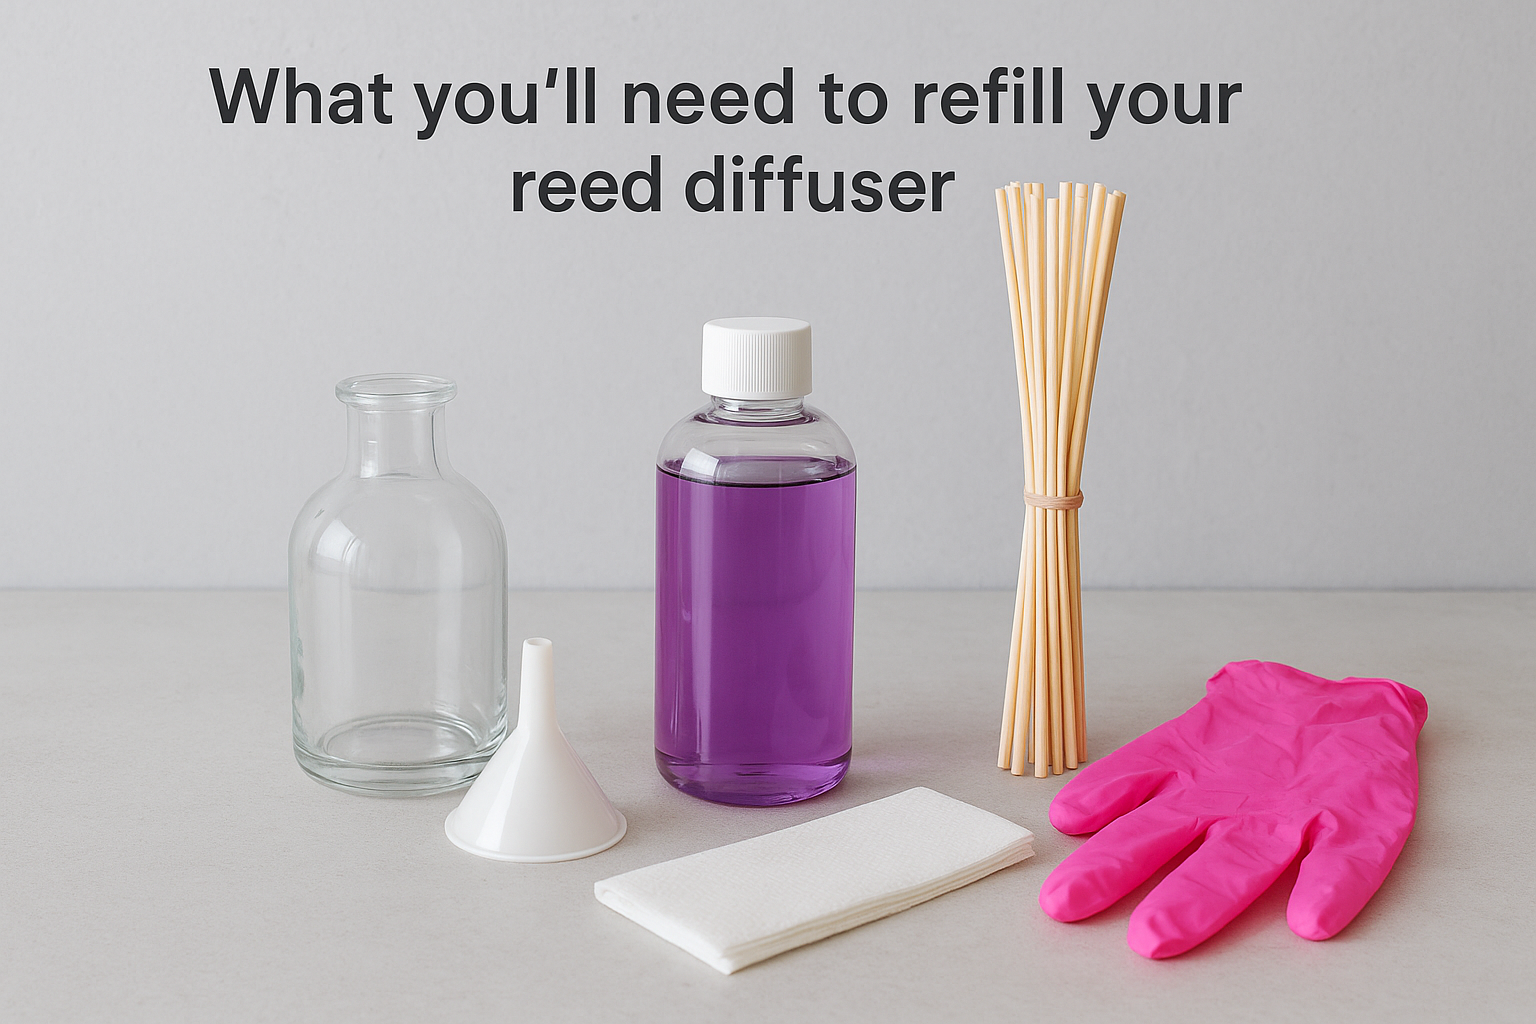
What you'll need to refill your reed diffuser
Gathering everything before you start saves you from wiping oil off the bench halfway through. A reed diffuser refill takes ten minutes if you've got the right gear on hand, but it turns into a messy chore if you're hunting for kitchen scales while oil drips off a reed. Most of what you need is either already in your cupboard or costs next to nothing at the supermarket.
The core supplies
You don't need much to do this properly. Fresh reed diffuser oil is the obvious one, but the rest of the list is just as important if you want a clean, even scent throw.
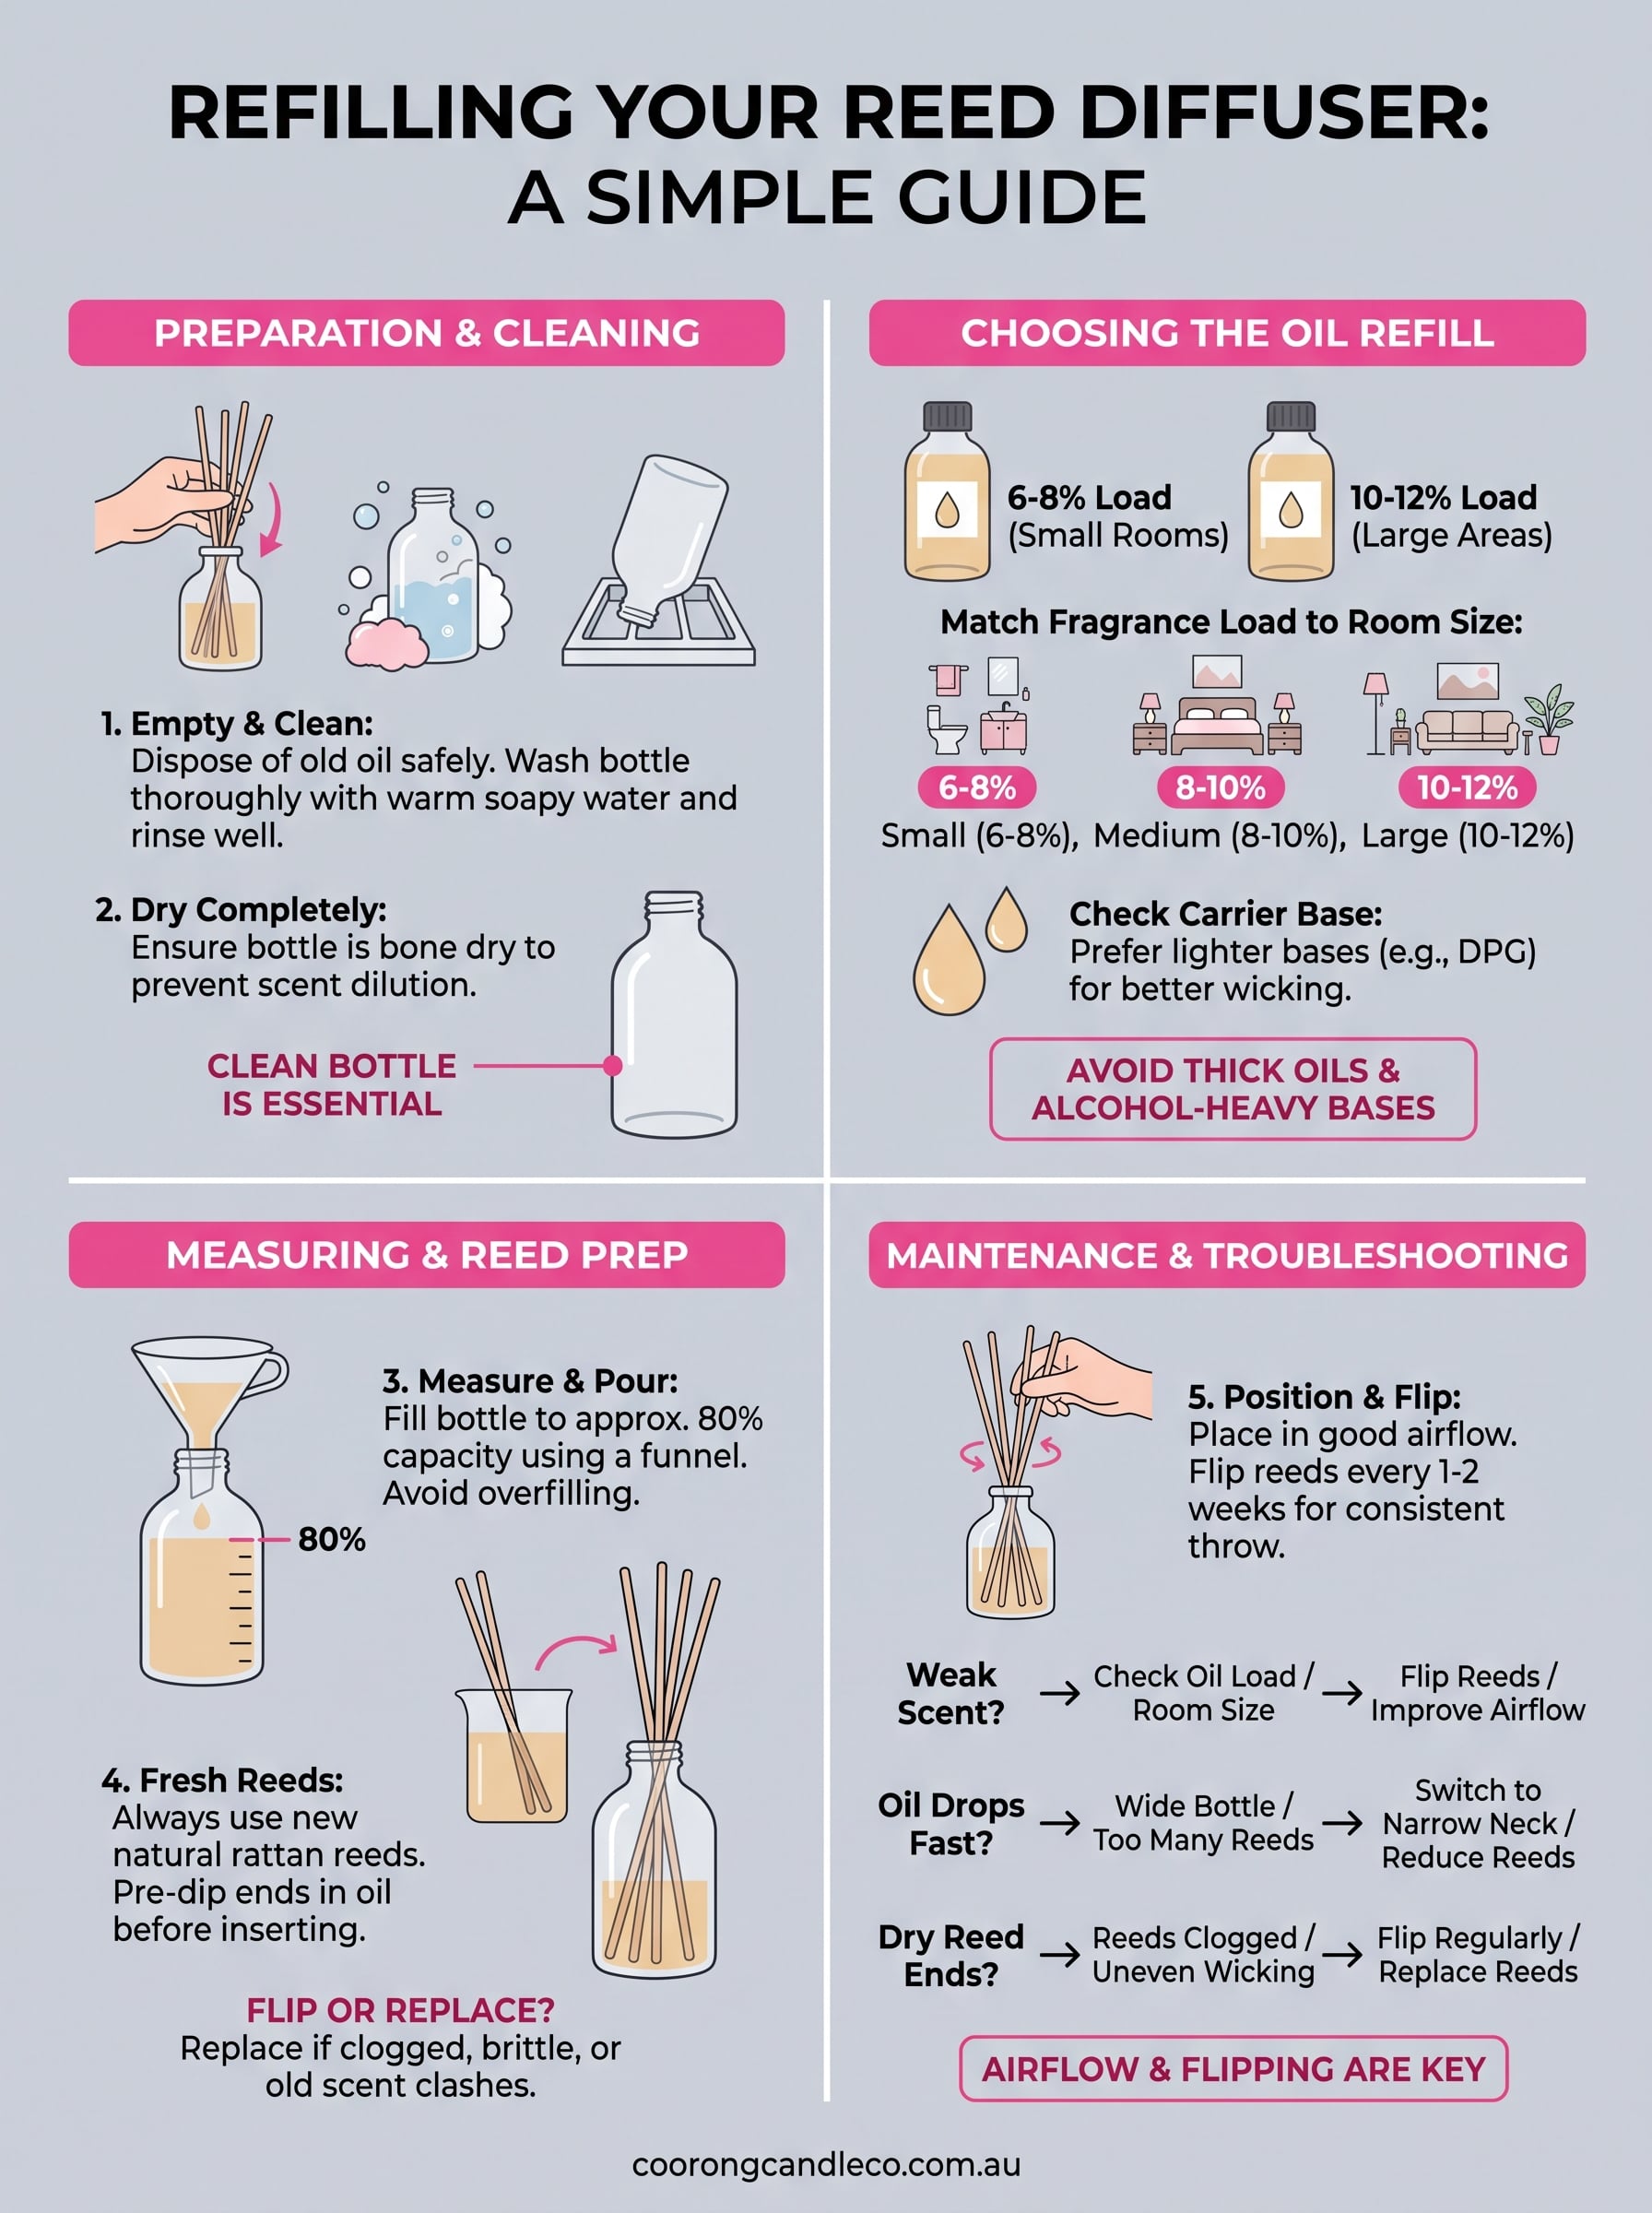
- Reed diffuser oil refill in your chosen fragrance (enough to fill the bottle to roughly 80% capacity)
- The original glass bottle, or a new one if the old one's cracked or discoloured
- A fresh set of natural fibre reeds (rattan works best; synthetic reeds don't wick as well)
- A small funnel, ideally narrow enough to fit the bottle's neck
- Kitchen scales or a measuring jug marked in millilitres
- Paper towel or an old cloth for spills
- Disposable gloves if you're sensitive to concentrated fragrance oils
- A well-ventilated spot, like a kitchen bench near an open window
A clean bottle, fresh reeds, and the right oil ratio matter far more than the diffuser itself.
Why the bottle and reeds matter as much as the oil
People assume the oil does all the work, but the vessel and reeds are half the equation. A narrow-necked bottle slows evaporation and makes the scent last longer, while a wide-mouthed one burns through oil fast and fades within weeks. If your original bottle has a wide opening and you've noticed your diffusers running dry quickly, it's worth switching to a narrower vessel when you refill. Reeds matter just as much. Natural rattan reeds have tiny internal channels that draw oil up and release it into the air; once those channels clog with dust or old, thickened oil, no amount of fresh fragrance will fix a weak throw.
A quick shopping list, sorted by priority
If you're heading to the shops or placing an online order, here's how to prioritise your spend:
| Item | Priority | Approx. cost (AUD) |
|---|---|---|
| Reed diffuser oil refill (200ml) | Essential | $25–$40 |
| Replacement rattan reeds (8–10 pack) | Essential | $5–$10 |
| Narrow-neck glass bottle | Optional (if reusing, skip) | $8–$15 |
| Small funnel | Recommended | $2–$5 |
| Kitchen scales | Nice to have | Already owned by most |
Sourcing matters here too. Supermarket-grade fragrance oils are often diluted with cheap carrier bases that separate and smell thin within days, so it pays to buy a diffuser reed oil refill from a supplier that discloses its oil concentration. Look for anything labelled 8-12% fragrance load; anything lower and you're paying for scented water.
Set aside the right amount of time
Refilling itself takes minutes, but don't rush the setup. Give the bottle time to air dry fully after washing (more on that in the next step), and let the reeds sit in fresh oil for at least an hour before you expect full scent throw. If you're doing this as part of a regular home ritual rather than a one-off fix, keep a small stock of spare reeds and one backup bottle of oil on hand so you're never caught with an empty diffuser and no way to top it up straight away.
Step 1. Empty and clean the diffuser bottle
Starting with a dirty bottle is the single biggest reason a reed diffuser oil refill ends up smelling muddled instead of fresh. Old fragrance oil oxidises over time, turning slightly sticky and darker in colour, and that residue mixes with whatever new oil you pour in. Even a small amount of leftover scent can clash with your new fragrance, especially if you're switching from something like a woody Barossa Valley blend to a lighter citrus. Skipping this step is the shortcut that costs you the most in the end.
Tip out the old oil safely
Before you touch the reeds, pull them out and set them aside on a paper towel. Tip any remaining oil into a lined bin rather than down the sink, since concentrated fragrance oils don't break down well in wastewater and can leave your drain smelling odd for days. If the bottle's glass and reusable, give it a rinse straight away before the residue has a chance to dry onto the inside walls.
Wash and dry thoroughly
A quick rinse isn't enough on its own. Warm water loosens the oil, but you need something to actually lift it off the glass:
- Fill the bottle with warm (not boiling) water and a small squirt of dish soap
- Swirl it vigorously, or use a bottle brush if the neck's wide enough
- Rinse at least twice to clear any soapy residue, which can affect how the new oil smells
- Tip the bottle upside down on a drying rack or clean towel
- Leave it for several hours, or overnight if you're not in a rush
A bottle that still smells like soap or old oil will taint your new fragrance from the first day.
Rushing the drying stage is where most people go wrong. Even a few drops of leftover water will dilute your fresh oil and throw off the fragrance concentration, weakening the scent throw before you've even started. If you're short on time, a hairdryer on a cool setting speeds things up, but never use heat near glass that's just come out of hot water. Once the bottle's bone dry and free of any lingering smell, you're ready to move on to picking the oil itself.
Step 2. Choose the right reed diffuser oil
Not every reed diffuser oil refill is built the same, and this is where most people either save money or waste it. A cheap, thin oil evaporates fast and fades within a fortnight, while a well-formulated one keeps throwing scent for two to three months from a single 200ml bottle. Before you buy, check the fragrance load percentage if it's listed, and steer clear of anything that doesn't disclose it at all. Vague labelling usually means a heavily diluted product hiding behind a nice bottle.
Match the concentration to your space
Smaller rooms like bathrooms or entryways do fine with a lighter fragrance load around 8%, but open-plan living areas need something closer to 10-12% to actually reach across the space. If your old diffuser barely scented the hallway it sat in, that's often a concentration problem rather than a fault with the bottle or reeds. When you're comparing options, this rough guide helps:
| Fragrance load | Best for | Typical scent lifespan |
|---|---|---|
| 6-8% | Small bathrooms, ensuites | 4-6 weeks |
| 8-10% | Bedrooms, hallways | 6-8 weeks |
| 10-12% | Living rooms, open-plan spaces | 8-12 weeks |
A refill that matches your room size will always outperform a stronger scent poured into the wrong space.
Consider the carrier base, not just the fragrance
Oil viscosity matters just as much as scent strength. Thick, syrupy carrier oils don't travel up the reeds as readily, which leaves you with a beautifully scented bottle that barely perfumes the room. Look for a diffuser reed oil refill made with a lighter carrier base such as DPG (dipropylene glycol) or a fractionated oil blend, since these move through rattan reeds far more efficiently than heavier alcohol-based mixes. If you're unsure what's in a product, most reputable suppliers list their base ingredients on the product page or safety data sheet, and it's worth checking against guidance from bodies like Safe Work Australia if you're sensitive to fragrance chemicals.
Stick with what worked, or branch out deliberately
Switching scents at refill time is fine, but do it on purpose rather than by accident. If your original fragrance suited the room and the season, buying the same reed diffuser oil refills keeps things simple. If you're after a change, pick something in a similar scent family first (swap one woody blend for another, say) before jumping to something drastically different, since strong contrasts can clash with lingering traces in the reeds themselves.
Step 3. Measure and pour the new oil
Getting the fill level right matters more than most people realise. Pour your reed diffuser oil refill to roughly 80% of the bottle's capacity, leaving a gap at the top so the reeds have room to sit without oil spilling over the rim when you first insert them. Overfilling is the most common mistake at this stage, and it usually ends with a slick of oil running down the outside of the bottle and onto whatever surface it's sitting on. If you're using a narrow-neck bottle, this margin also stops oil from seeping out through capillary action once the reeds start drawing it upward.
Steadying the bottle before you start pouring saves you a cleanup job later. A funnel narrow enough to fit the neck keeps the pour controlled, especially with thicker fragrance oils that don't flow as smoothly as water. Work through it in this order:
- Place the clean, dry bottle on a flat, stable surface, ideally over a tray or old towel
- Insert the funnel and pour slowly, checking the level against the bottle's shoulder rather than guessing
- Pause halfway through to wipe any drips off the funnel or bottle neck before they run down the glass
- Remove the funnel carefully and give the bottle a final wipe with paper towel
- Leave the bottle capped (without reeds) for a few minutes if you've spilled any oil, so the smell doesn't linger on the bench
Kitchen scales give you a more reliable reading than eyeballing it, particularly if you're measuring a diffuser reed oil refill into an unfamiliar bottle shape. Weigh the empty bottle first, then top up until you've added roughly 150-180ml for a standard 200ml vessel, adjusting slightly depending on the bottle's exact dimensions.
An 80% fill leaves room for the reeds to work without oil pooling over the top or dripping down the glass.
Once the oil's in and the bench is wiped clean, resist the urge to drop the reeds in straight away. Letting the bottle sit undisturbed for a minute or two lets any air bubbles settle and gives you a clear view of the true oil level before you commit the reeds. This short pause also means you'll spot any smudges or drips on the outside of the glass while they're still easy to wipe off, rather than after they've dried into a sticky film that attracts dust.
Step 4. Refresh or replace the reeds
Old reeds carry more baggage than most people realise. Once rattan reeds have sat in fragrance oil for a few months, the internal channels clog with dried residue and dust, and no amount of fresh reed diffuser oil refill will push through them properly. If your reeds look darkened, feel stiff, or have a slight film on the surface, that's your sign they're spent. Reusing tired reeds with a brand-new oil is one of the most common reasons a refill smells weaker than the original bottle ever did.
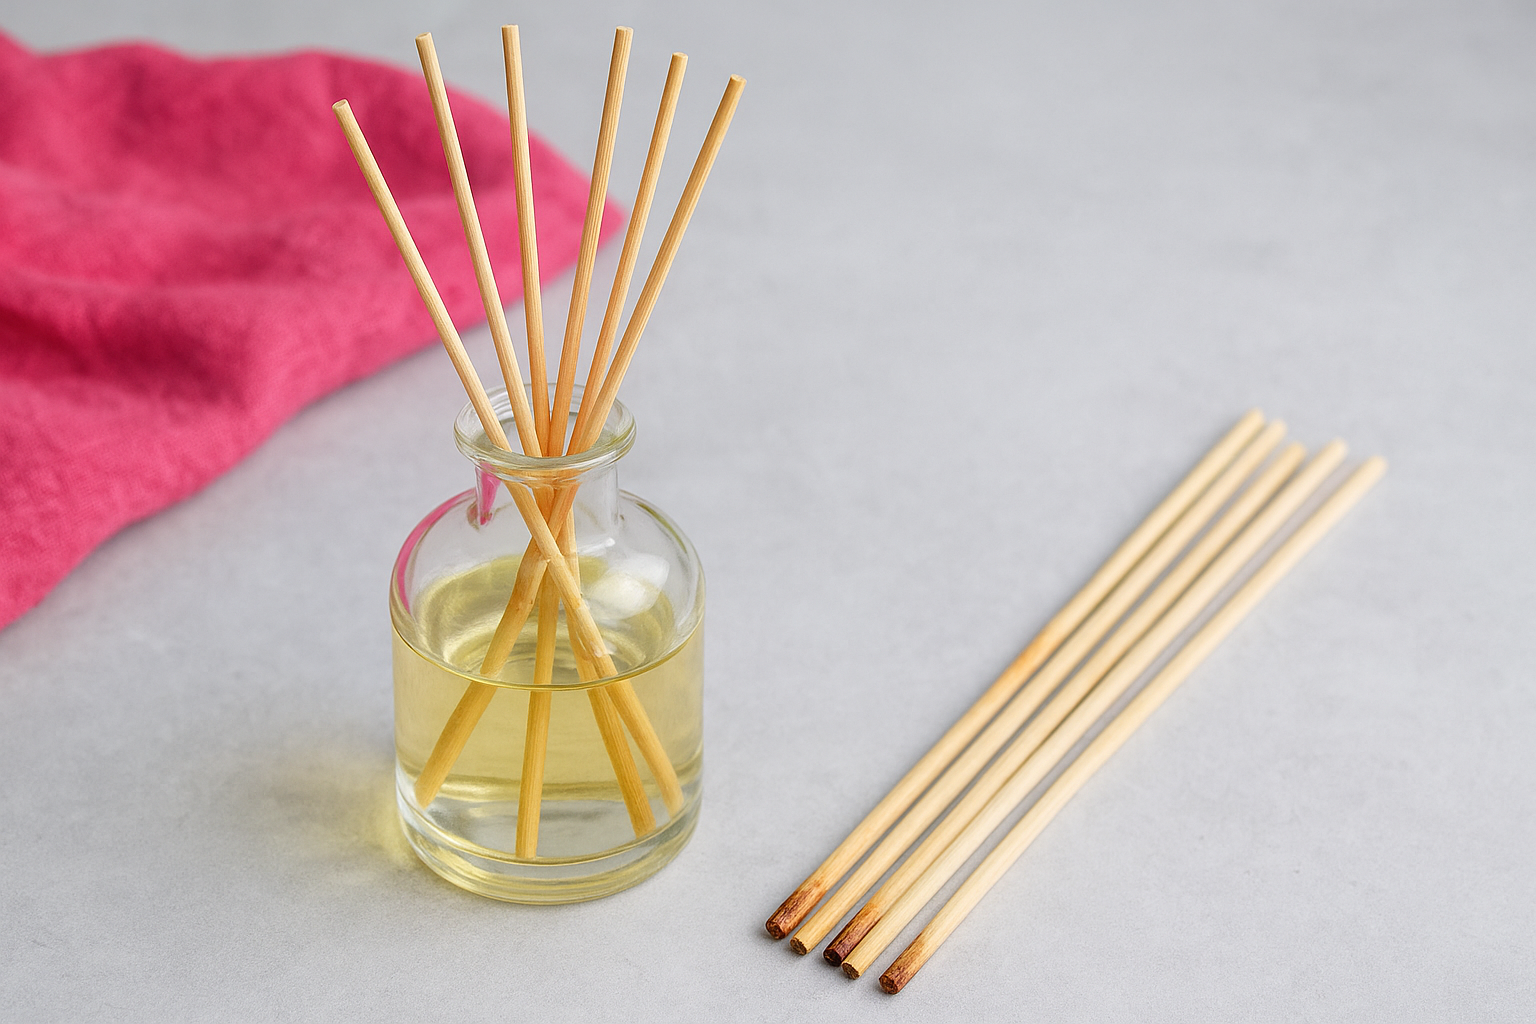
Know when reeds are done for good
Generally, reeds last around two to three refill cycles before they stop wicking efficiently, though this depends on how often you flip them and how thick your oil is. A quick sniff test helps here: hold a reed close to your nose, and if it smells faint or musty rather than of the fragrance itself, it's time to bin it. Reeds that have gone brittle or snapped at the tip should also be swapped out, since a cracked reed draws oil unevenly and creates patchy scent throw across the bundle.
Flip versus replace: a quick decision guide
Use this table as a rough guide before you decide which way to go.
| Reed condition | Action |
|---|---|
| Lightly used, still flexible, mild scent fading | Flip and reuse |
| Stiff, darkened, or clogged tips | Replace with fresh rattan |
| Cracked, split, or snapped | Replace immediately |
| Switching to a very different fragrance | Replace, even if reeds look fine |
Fresh reeds are the cheapest fix for a diffuser that's stopped throwing scent properly.
How to prep new reeds before inserting
Swapping in a new set takes seconds, but a couple of small steps make the difference between a strong scent throw and a slow, disappointing one. Trim the reeds if they're longer than the bottle needs, since too much length above the rim wastes fragrance into open air rather than the room. Natural, untreated rattan works best here, as anything coated or synthetic won't draw the oil upward the way it should. Once you've got a fresh bundle ready, dip the ends briefly in the new oil before standing them in the bottle, which kickstarts the wicking process and gets scent moving through the reeds faster than if you'd left them dry.
Step 5. Position and flip the reeds correctly
Getting the reeds standing in the bottle is only half the job. Where you place the diffuser and how often you turn the reeds decides whether that fresh reed diffuser oil refill actually reaches the room or just sits quietly evaporating in a corner. Placement affects airflow, and airflow is what carries fragrance molecules off the reed and into the space around it.
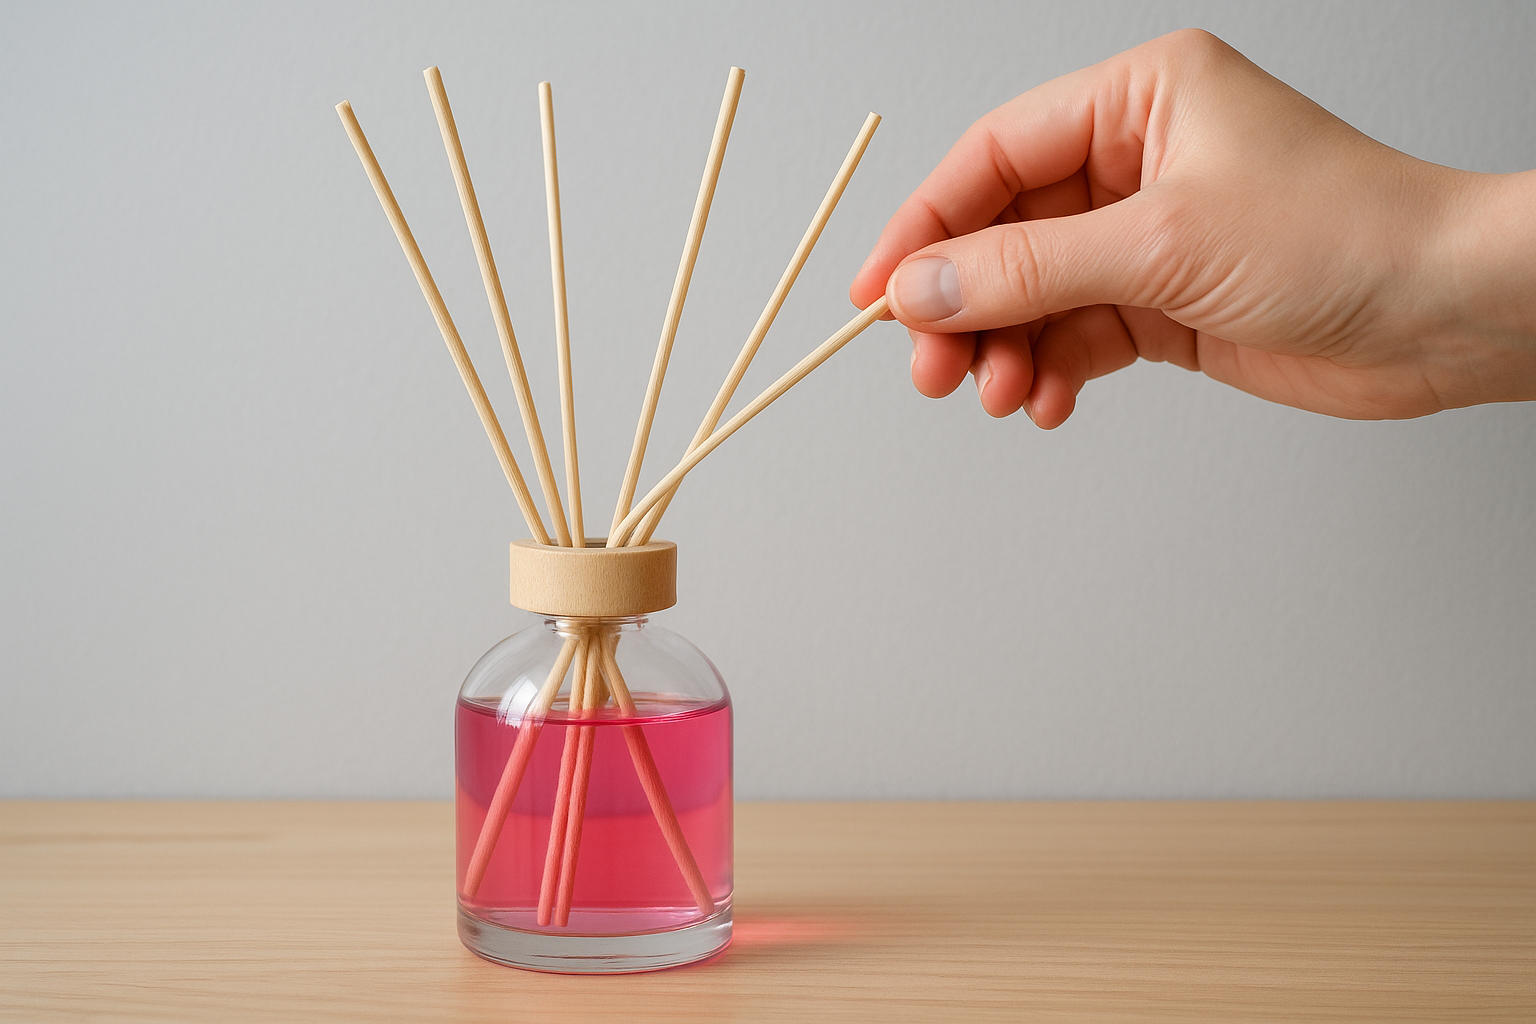
How many reeds to use
Most standard bottles work best with six to eight reeds, though this depends on the fragrance load of your oil and the size of the room. A stronger oil in a small bathroom might only need four or five reeds to avoid overpowering the space, while a lighter blend in an open living area benefits from a full bundle of eight. Fan the reeds slightly once they're in the bottle rather than leaving them bunched together, since spacing them out exposes more surface area to the air and helps the scent disperse more evenly across the room.
Choose a spot with gentle airflow
A diffuser tucked into a still, closed-off corner won't throw scent nearly as well as one placed near natural air movement. Sit the bottle away from direct sunlight and heating vents, both of which degrade fragrance oils faster than normal room temperature, but do place it somewhere air can circulate, such as a hallway table, a shelf near a doorway, or a spot close to (not directly under) a ceiling fan.
Flip the reeds every one to two weeks
This is the step almost everyone skips, and it's the one that matters most for keeping scent consistent over time. Flipping redistributes the oil along the reed's full length rather than letting it concentrate at one end, and it exposes a fresher, more saturated section of rattan to the air each time.
Flipping the reeds every one to two weeks is the single easiest way to keep a diffuser smelling strong for its full lifespan.
Set a reminder on your phone if you're prone to forgetting, since a diffuser left unflipped for a month often smells noticeably weaker even with plenty of oil still left in the bottle. If you notice one end of the reeds looking dry or crusted while the other stays wet, that's a sign you've gone too long between flips and the wicking has become uneven.
Step 6. Troubleshoot a weak or fading scent
Sometimes you've done everything right, fresh oil, new reeds, correct fill level, and the room still smells like nothing. Before you assume the reed diffuser oil refill is faulty, work through the usual culprits systematically rather than guessing. Most weak-scent problems trace back to one of three things: the oil itself, the reeds, or the room's airflow.
Common causes and quick fixes
Run through this checklist before buying another bottle of oil. It's usually faster than trial and error.
| Symptom | Likely cause | Fix |
|---|---|---|
| Scent faded within days | Low fragrance load or thin carrier oil | Switch to a 10-12% concentration blend |
| Reeds smell fine up close but nothing reaches the room | Poor airflow around the diffuser | Move to a hallway or near a doorway |
| One end of reeds dry, scent uneven | Reeds haven't been flipped recently | Flip immediately, then every 1-2 weeks |
| Oil level dropping fast with weak throw | Wide-mouthed bottle or too many reeds pulled | Switch to narrow neck, reduce reed count |
| No scent at all despite full bottle | Clogged, old reeds | Replace with fresh natural rattan |
If you've ruled out the reeds and the bottle, the room's airflow is usually the missing piece.
Consider the room before blaming the oil
Large, open spaces with high ceilings or constant air conditioning pull fragrance molecules away faster than a diffuser can replace them. Ventilation and airflow matter as much as concentration here, so if you've moved a diffuser from a small bathroom into an open-plan living area and it suddenly seems weaker, that's the room, not the refill. Adding a second diffuser at the opposite end of a large space often solves this better than pouring in a stronger oil.
Know when it's genuinely spent
Occasionally a bottle of diffuser reed oil refill just isn't performing, particularly if it's sat unopened for a long stretch before use, since fragrance oils do lose potency over time even unopened. If you've flipped fresh reeds, checked the room, and confirmed a reasonable concentration and the scent still barely registers, it's fair to write that batch off and try a different supplier or blend rather than persisting with something that was never going to throw properly.
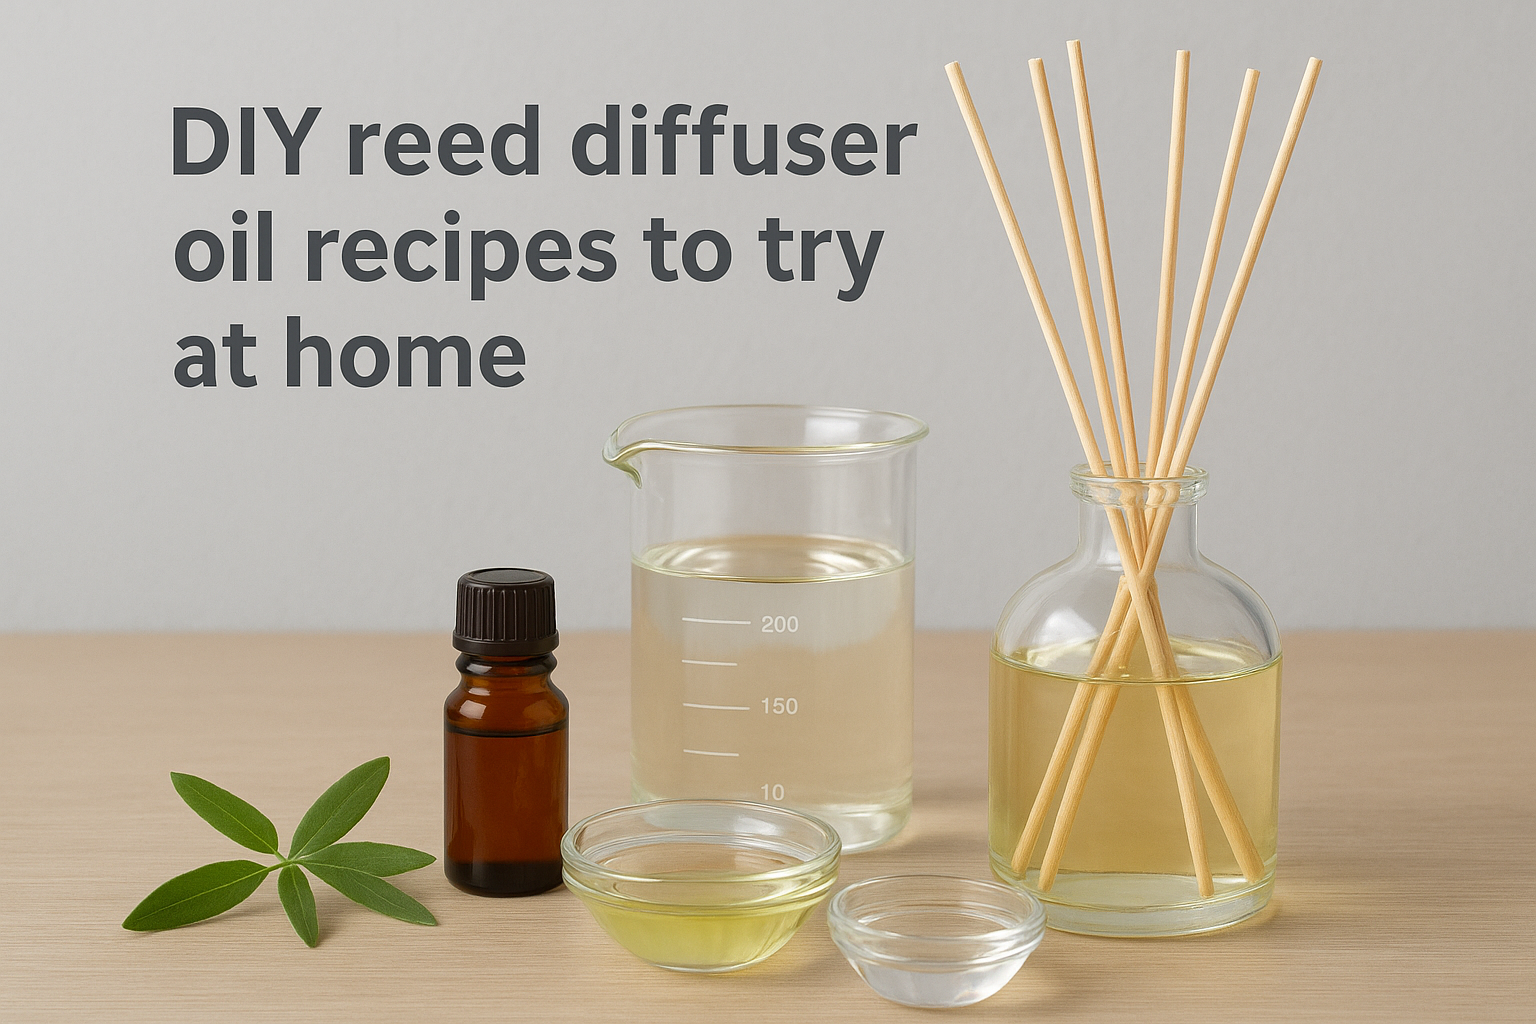
DIY reed diffuser oil recipes to try at home
Making your own reed diffuser oil refill works well as a stopgap or a genuine long-term habit, provided you get the base ratio right. A homemade blend won't match the polish of a professionally formulated fragrance load, but it's a fair way to test scent combinations cheaply before committing to a full bottle, and it keeps a diffuser running when you're between orders. Most DIY recipes fall apart because people skip the carrier oil and pour in essential oils alone, which are too thin to wick properly and evaporate within days.
The basic ratio to start with
Getting the base right matters more than the fragrance you pick. Odourless mineral oil, fractionated coconut oil, or safflower oil all work as carriers, but avoid thick vegetable oils like olive oil, which clog rattan reeds almost immediately.
Base recipe (200ml bottle):
- 160ml carrier oil (fractionated coconut oil or odourless mineral oil)
- 40ml pure alcohol (vodka works, or isopropyl alcohol)
- 25-30ml essential oil blend
Skip the alcohol and your homemade blend will smell strong up close but barely reach the rest of the room.
Scent combinations worth trying
Once the base is sorted, the fragrance blend is where you can have some fun. These combinations hold up reasonably well in a home-made mix:
- Eucalyptus and lemon myrtle – fresh, sharp, good for bathrooms and laundries
- Sandalwood and cedarwood – warm and woody, suits living rooms and studies
- Lavender and bergamot – calming, works well in bedrooms
- Rosemary and grapefruit – bright and herbaceous, good for kitchens
Combine no more than three essential oils at a time, since layering too many notes tends to muddy the scent rather than deepen it.
Where DIY falls short
Homemade blends fade faster and throw less consistently than a properly formulated diffuser reed oil refill, mainly because essential oils sit at a much lower concentration than commercial fragrance oils and break down faster once mixed with alcohol. Treat DIY as a fun weekend project or a temporary fix rather than your everyday solution, and switch reeds more often since homemade oils tend to leave more residue behind.
A simple ritual for a fresher home
Refilling a reed diffuser isn't complicated once you've done it the first time. Clean the bottle properly, match your reed diffuser oil refill to the room, get the fill level and reed count right, and flip those reeds every week or two. Skip any one of these steps and you'll notice the scent fading faster than it should, but get them all right and a single bottle keeps a room smelling genuinely good for months.
Treat it as a small, recurring habit rather than a chore, the same way you'd top up a moisturiser or restock candles. If your current bottle's running low or you fancy trying a new fragrance altogether, our reed diffusers are hand-blended here in South Australia, with 200ml of oil and ten rattan reeds in every box, ready for exactly the refill routine we've just walked through.